How to contour like a PRO: Your step by step guide
Facial contouring – we’ve likely all heard about it, after all it’s a technique that makeup artists have been using for years now! This is because contouring has the ability to totally transform your face! Adding depth and dimension to your features and bone structure like nothing else. We are talking chiselled cheekbones and sculpted jawlines! But surely this makeup technique is reserved only for professionals, right? Especially since it can look somewhat intimidating! The thing is we can all sculpt those cheekbones of ours like any seasoned artist, we just need to learn how!
Keep reading for our simple step by step guide on how to contour like a pro and achieve perfectly chiselled features in under 5 minutes without the need for surgery!
Step 1: Gather your tools
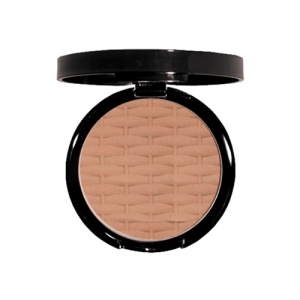
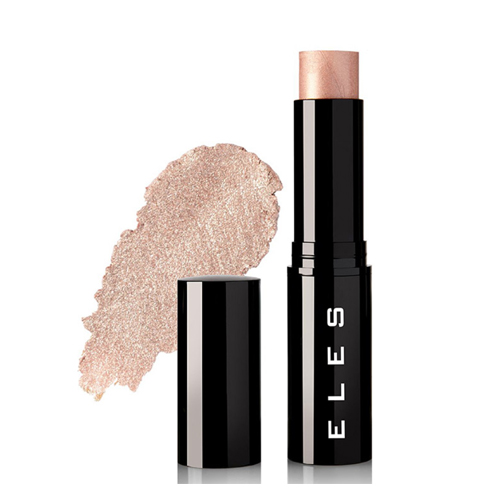
First things first, make sure you have the right tools at your disposal. You’ll need a bronzer (the bronzer you use to contour should be only slightly darker than your skin tone. You can use any kind of formulation you like, though we do recommend a powder for beginners like the ELES Mineral Sheer Bronzer in Rio De Janeiro), a highlighter (the colour you choose for highlighting, should generally have a light shimmer finish, we love the ELES Stick Illuminator), tapered powder and blending brushes, a beauty blender sponge and a translucent powder.
Step 2: Start with a fresh canvas
Begin with a clean, moisturised face. Apply your foundation as you normally would to create an even base. Allow it to settle into your skin for a few minutes.
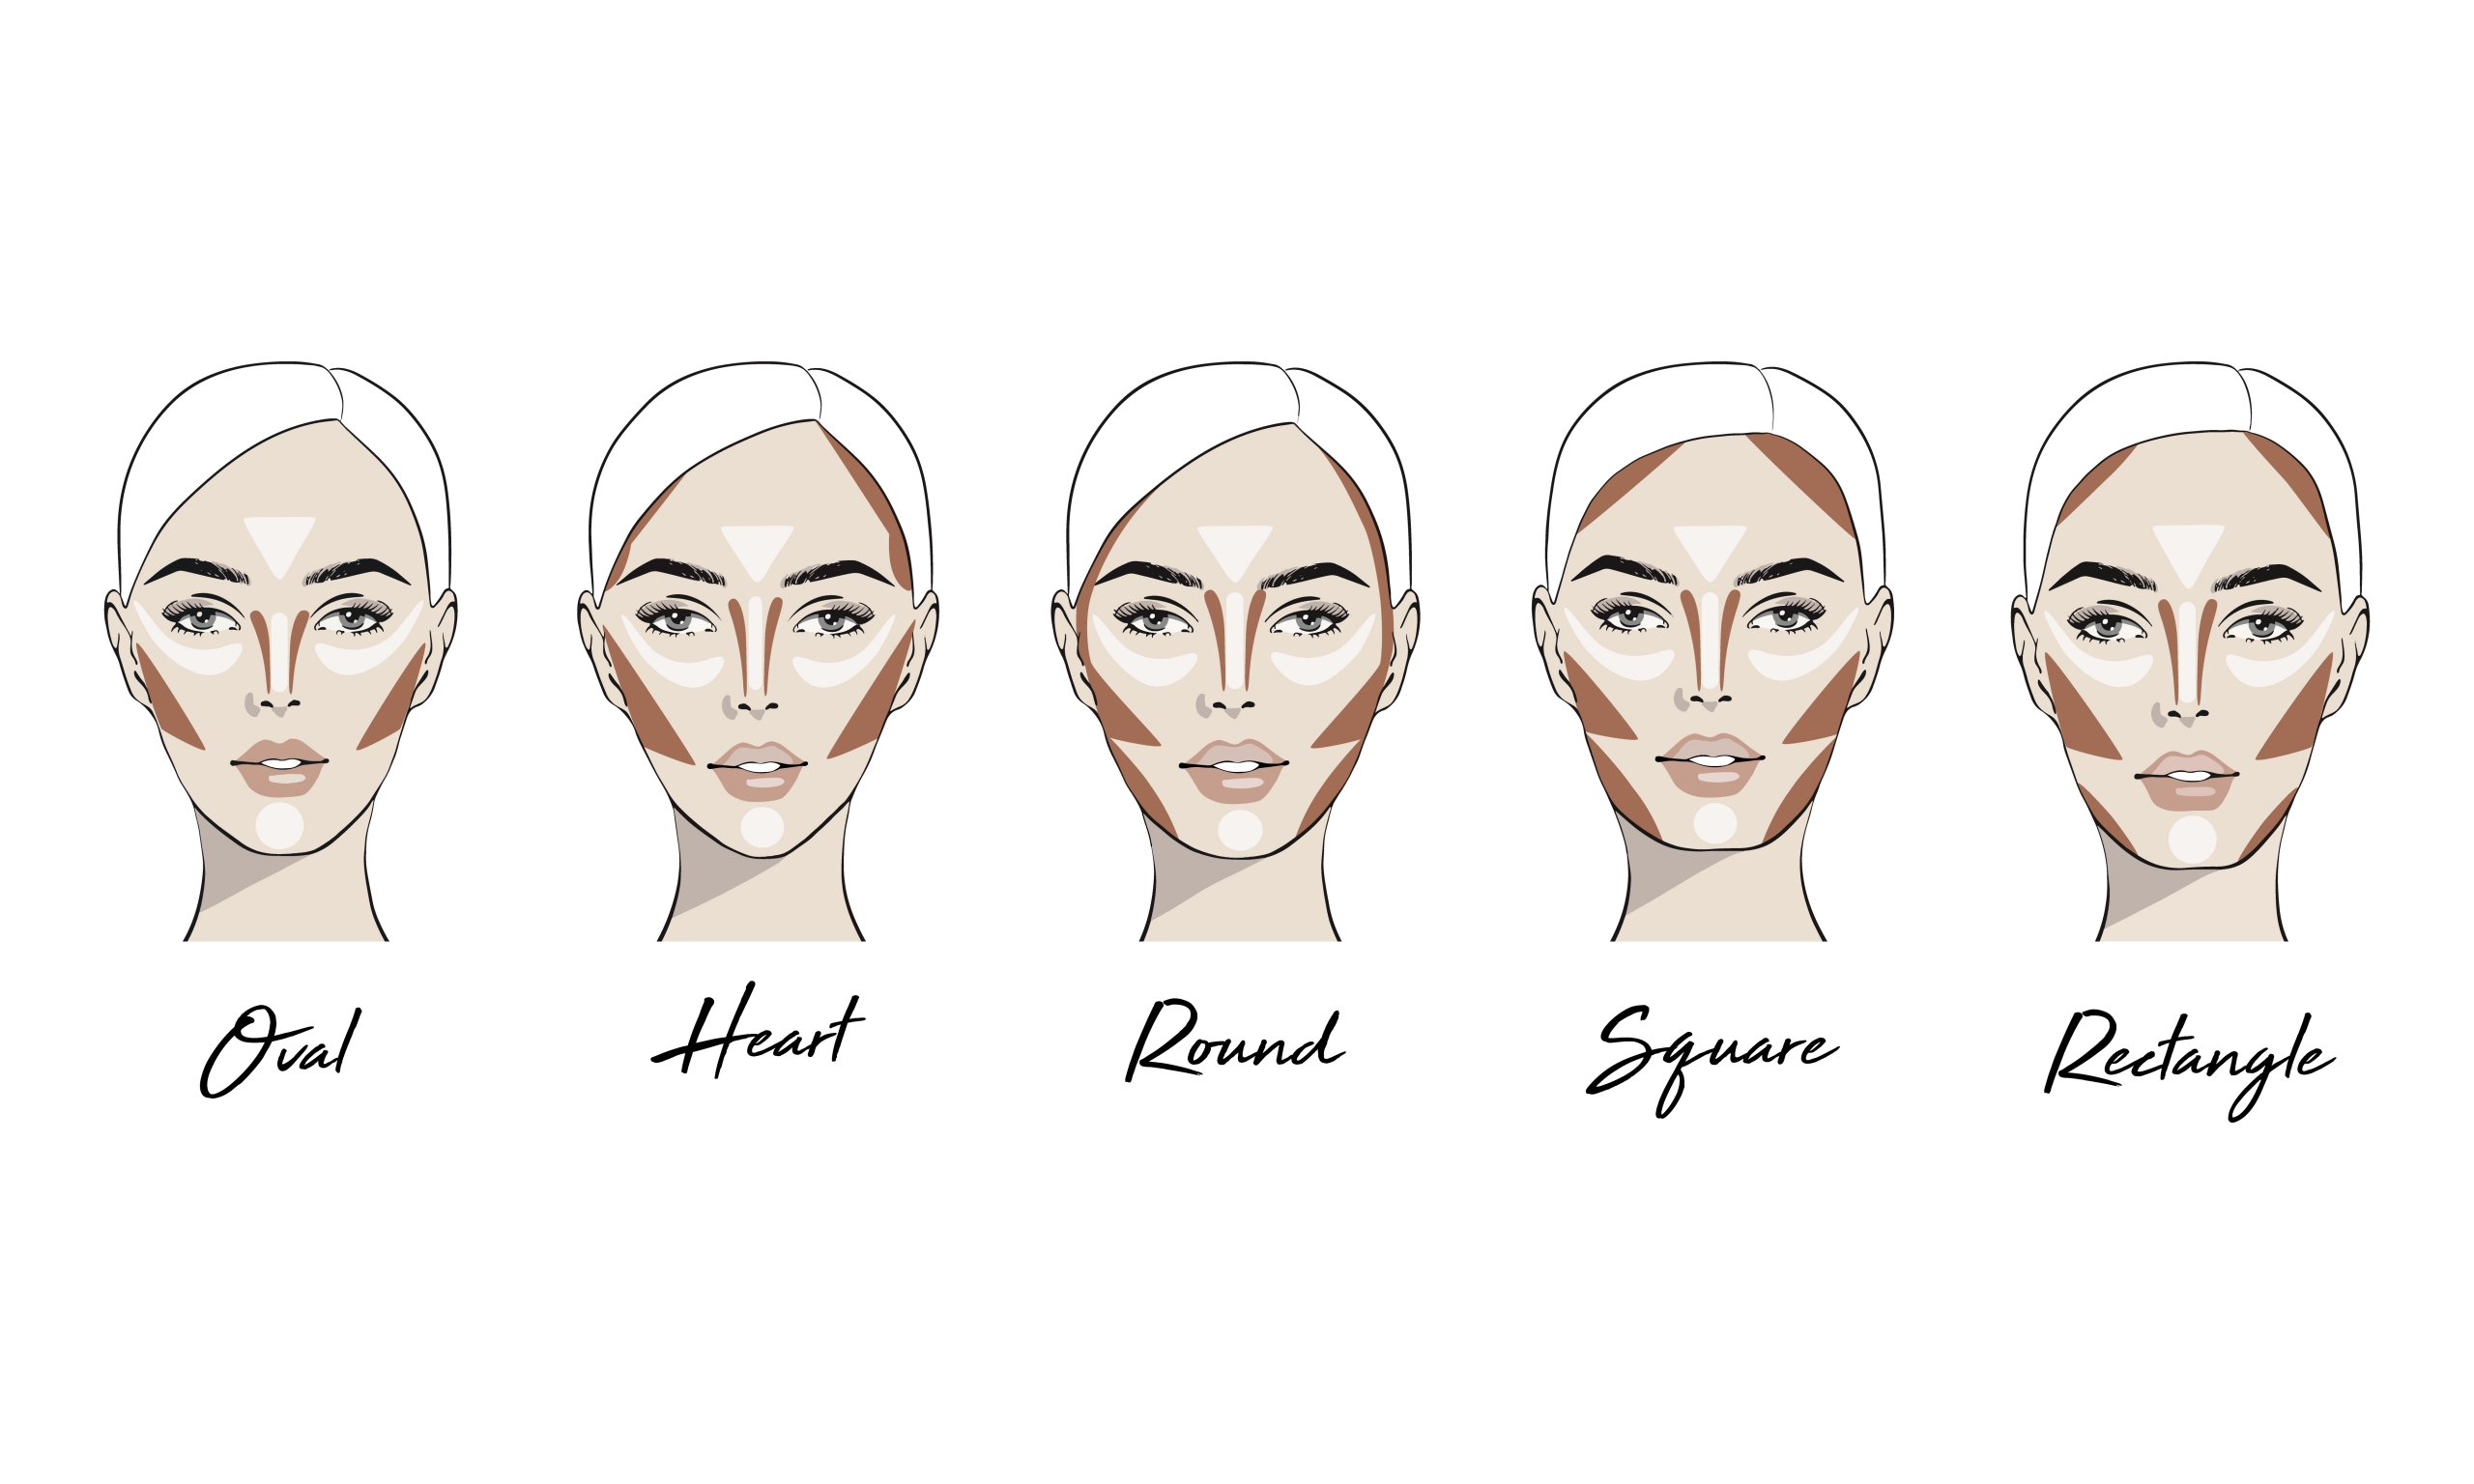
Step 3: Identify your face shape
Understanding your face shape is crucial for targeted contouring. Whether you have a round, oval, square, heart, or diamond-shaped face, each requires specific contouring techniques. Identify yours to tailor your approach accordingly.
The model we’ve chosen for this demonstration has a lovely round face, we’ve exaggerated the effect so you can see more clearly the placement of the product, however a lighter effect is recommended.
Step 4: Define with contour shades
Take your contour shade (bronzer) and using a tapered powder brush apply directly beneath the cheekbones, from the earlobes fading to the corners of the mouth.

Step 5: Contour your nose (optional)
If you want to refine your nose shape, use a smaller brush, like a small tapered blending brush to contour the sides.
Apply a light application of your chosen bronzer directly down the outer contours of the nose and up towards the brow. Keep it subtle and build up the intensity gradually. Less is often more when it comes to nose contouring.
Follow with a blended line sweeping across the eye contour crease to the outer eye and up towards the temples.

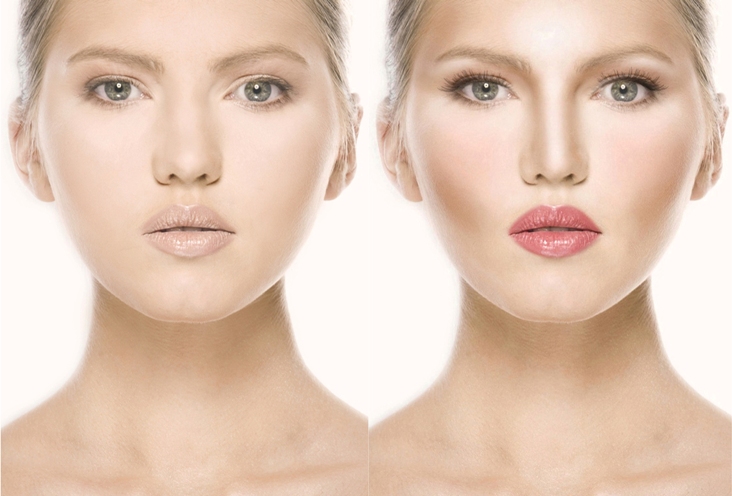
Step 6: Highlight strategic areas
Now it’s time for your highlighter! Apply to areas you want to bring forward. This typically includes the centre of the forehead, bridge of the nose, under the eyes in an inverted triangle shape, tops of the cheekbones, and the chin.
Start by taking a small amount of the ELES Stick Illuminator and apply in patting movements to the centre of the forehead above the nose and sweeping down the centre of the nose.
N.B Remember the secret to a professional-looking contour is seamless blending. Use a damp blending sponge and blend in upward and outward motions to avoid harsh lines.

Apply more highlighter under the eyes, to the inner cheeks beside the nose and down under the nose on the upper lip.

Step 7: Add a pop of colour (optional)
For an extra touch, apply a light dusting of blush to the apples of your cheeks. This adds a healthy flush and will complement your contoured features.

Step 8: Set with translucent powder
To lock in your hard work and prevent any smudging, set your contour with a light dusting of translucent powder. This step is especially important if you’re using cream or liquid products.
Voila! You’ve just contoured like a professional! Just remember practice makes perfect, so don’t be discouraged if your first attempt isn’t flawless. The key is to experiment and find what works for your unique features.
CONTOURING GUIDE FOR DIFFERENT FACE SHAPES