Jennifer Lawrence Oscars 2024 makeup look

How to achieve the best makeup look from the 2024 Oscars

From elegant updo’s and radiant skin, beautiful bold eyes and subtle nude lips, the 2024 Oscars dazzled not only with cinematic brilliance but also with show-stopping makeup looks that stole the spotlight.

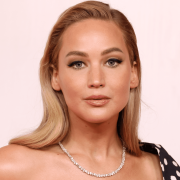
Want to channel some red-carpet glamour yourself? Keep reading as we countdown 6 steps to recreate the best makeup look of the night – awarded to Jennifer Lawrence!

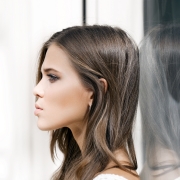
Like a modern-day Audrey Hepburn, Jennifer Lawrence bought winged liner back into business! Sporting thick liquid liner over a wash of perfectly blended taupe shadow, coupled with beautifully bronzed skin, impeccably groomed brows and a subtle nude lip, she was the epitome of Old School Hollywood Glamour, and here’s how you can be too!


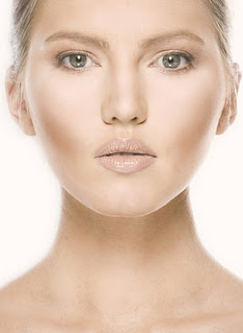
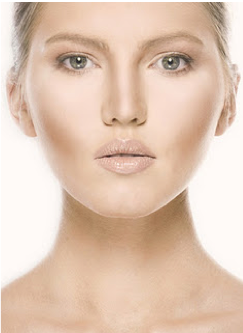
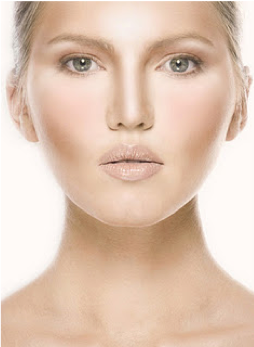
Step 1 – Flawless base

Start by prepping your skin with a nourishing primer. Creating an extra layer between your skin and makeup, the primer will plump fine lines, blur imperfections and blemishes, smooth skin, and help makeup last all day without caking, creasing or the need for constant touch-ups. It’s often the forgotten step but Oh so important! Trust me.

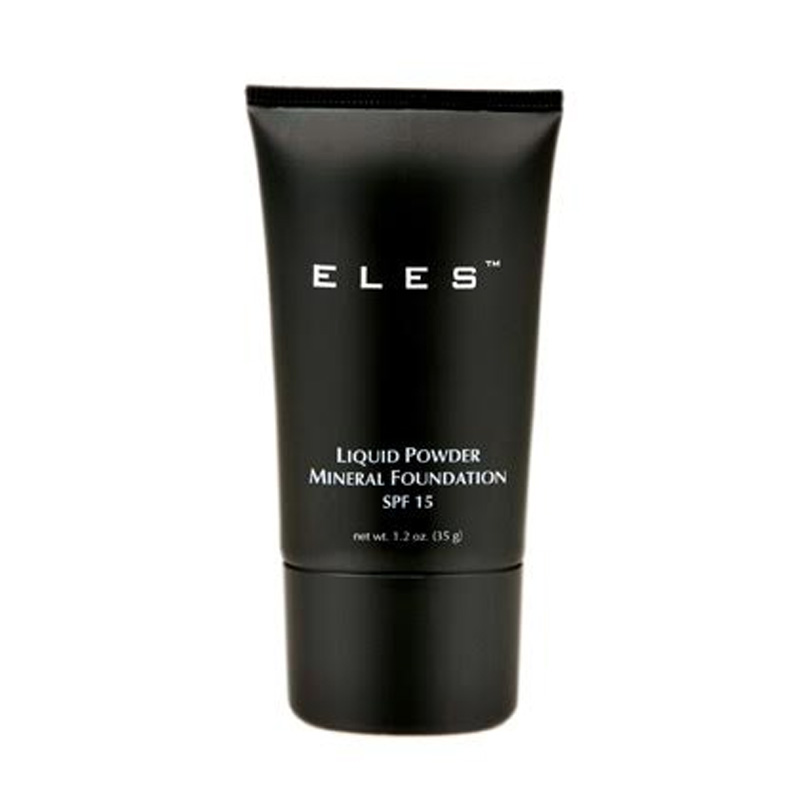
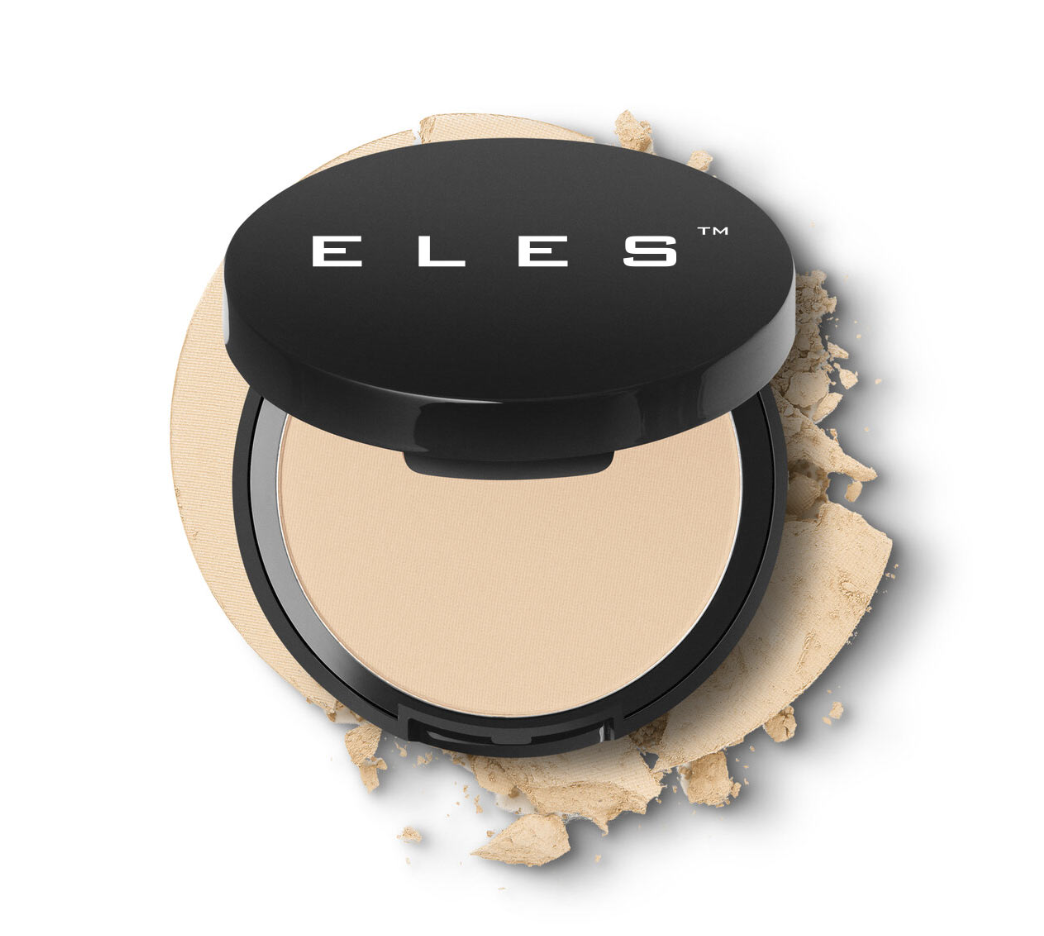
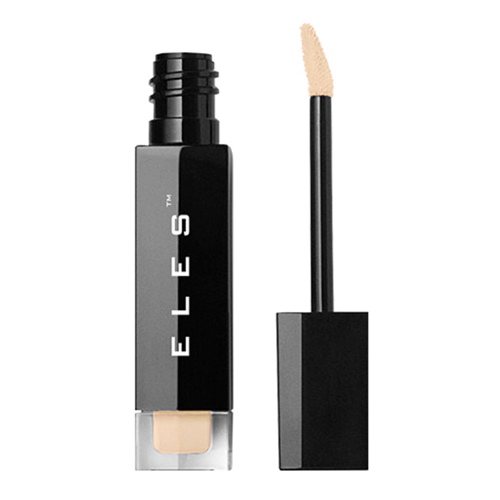
Next to create Jennifers flawless base, use a soft matte, long-wearing foundation, we LOVE ELES Cosmetic’s best-selling Liquid Powder Mineral Foundation). Matte foundations provide a smooth finish, perfect to recreate Jennifer Lawrence’s look. Finish this step by concealing any blemishes or dark circles with a full-coverage concealer such as ELES Liquid Concealer.

Beauty Collective - ELES Liquid Concealer

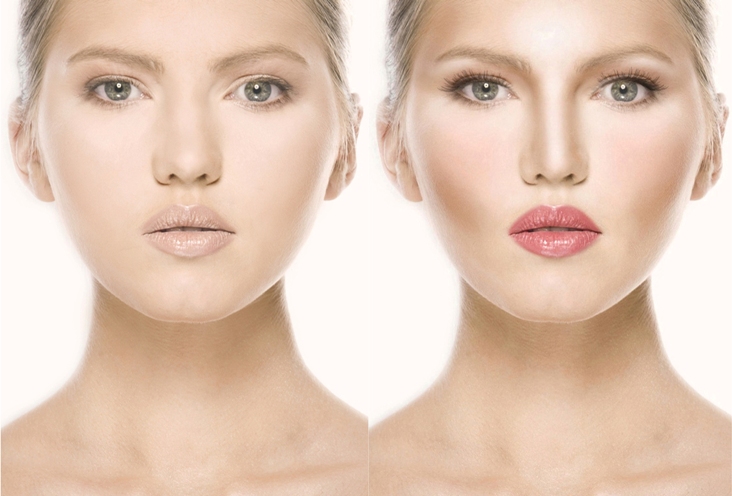
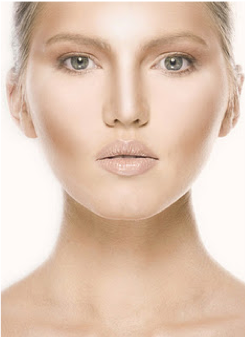
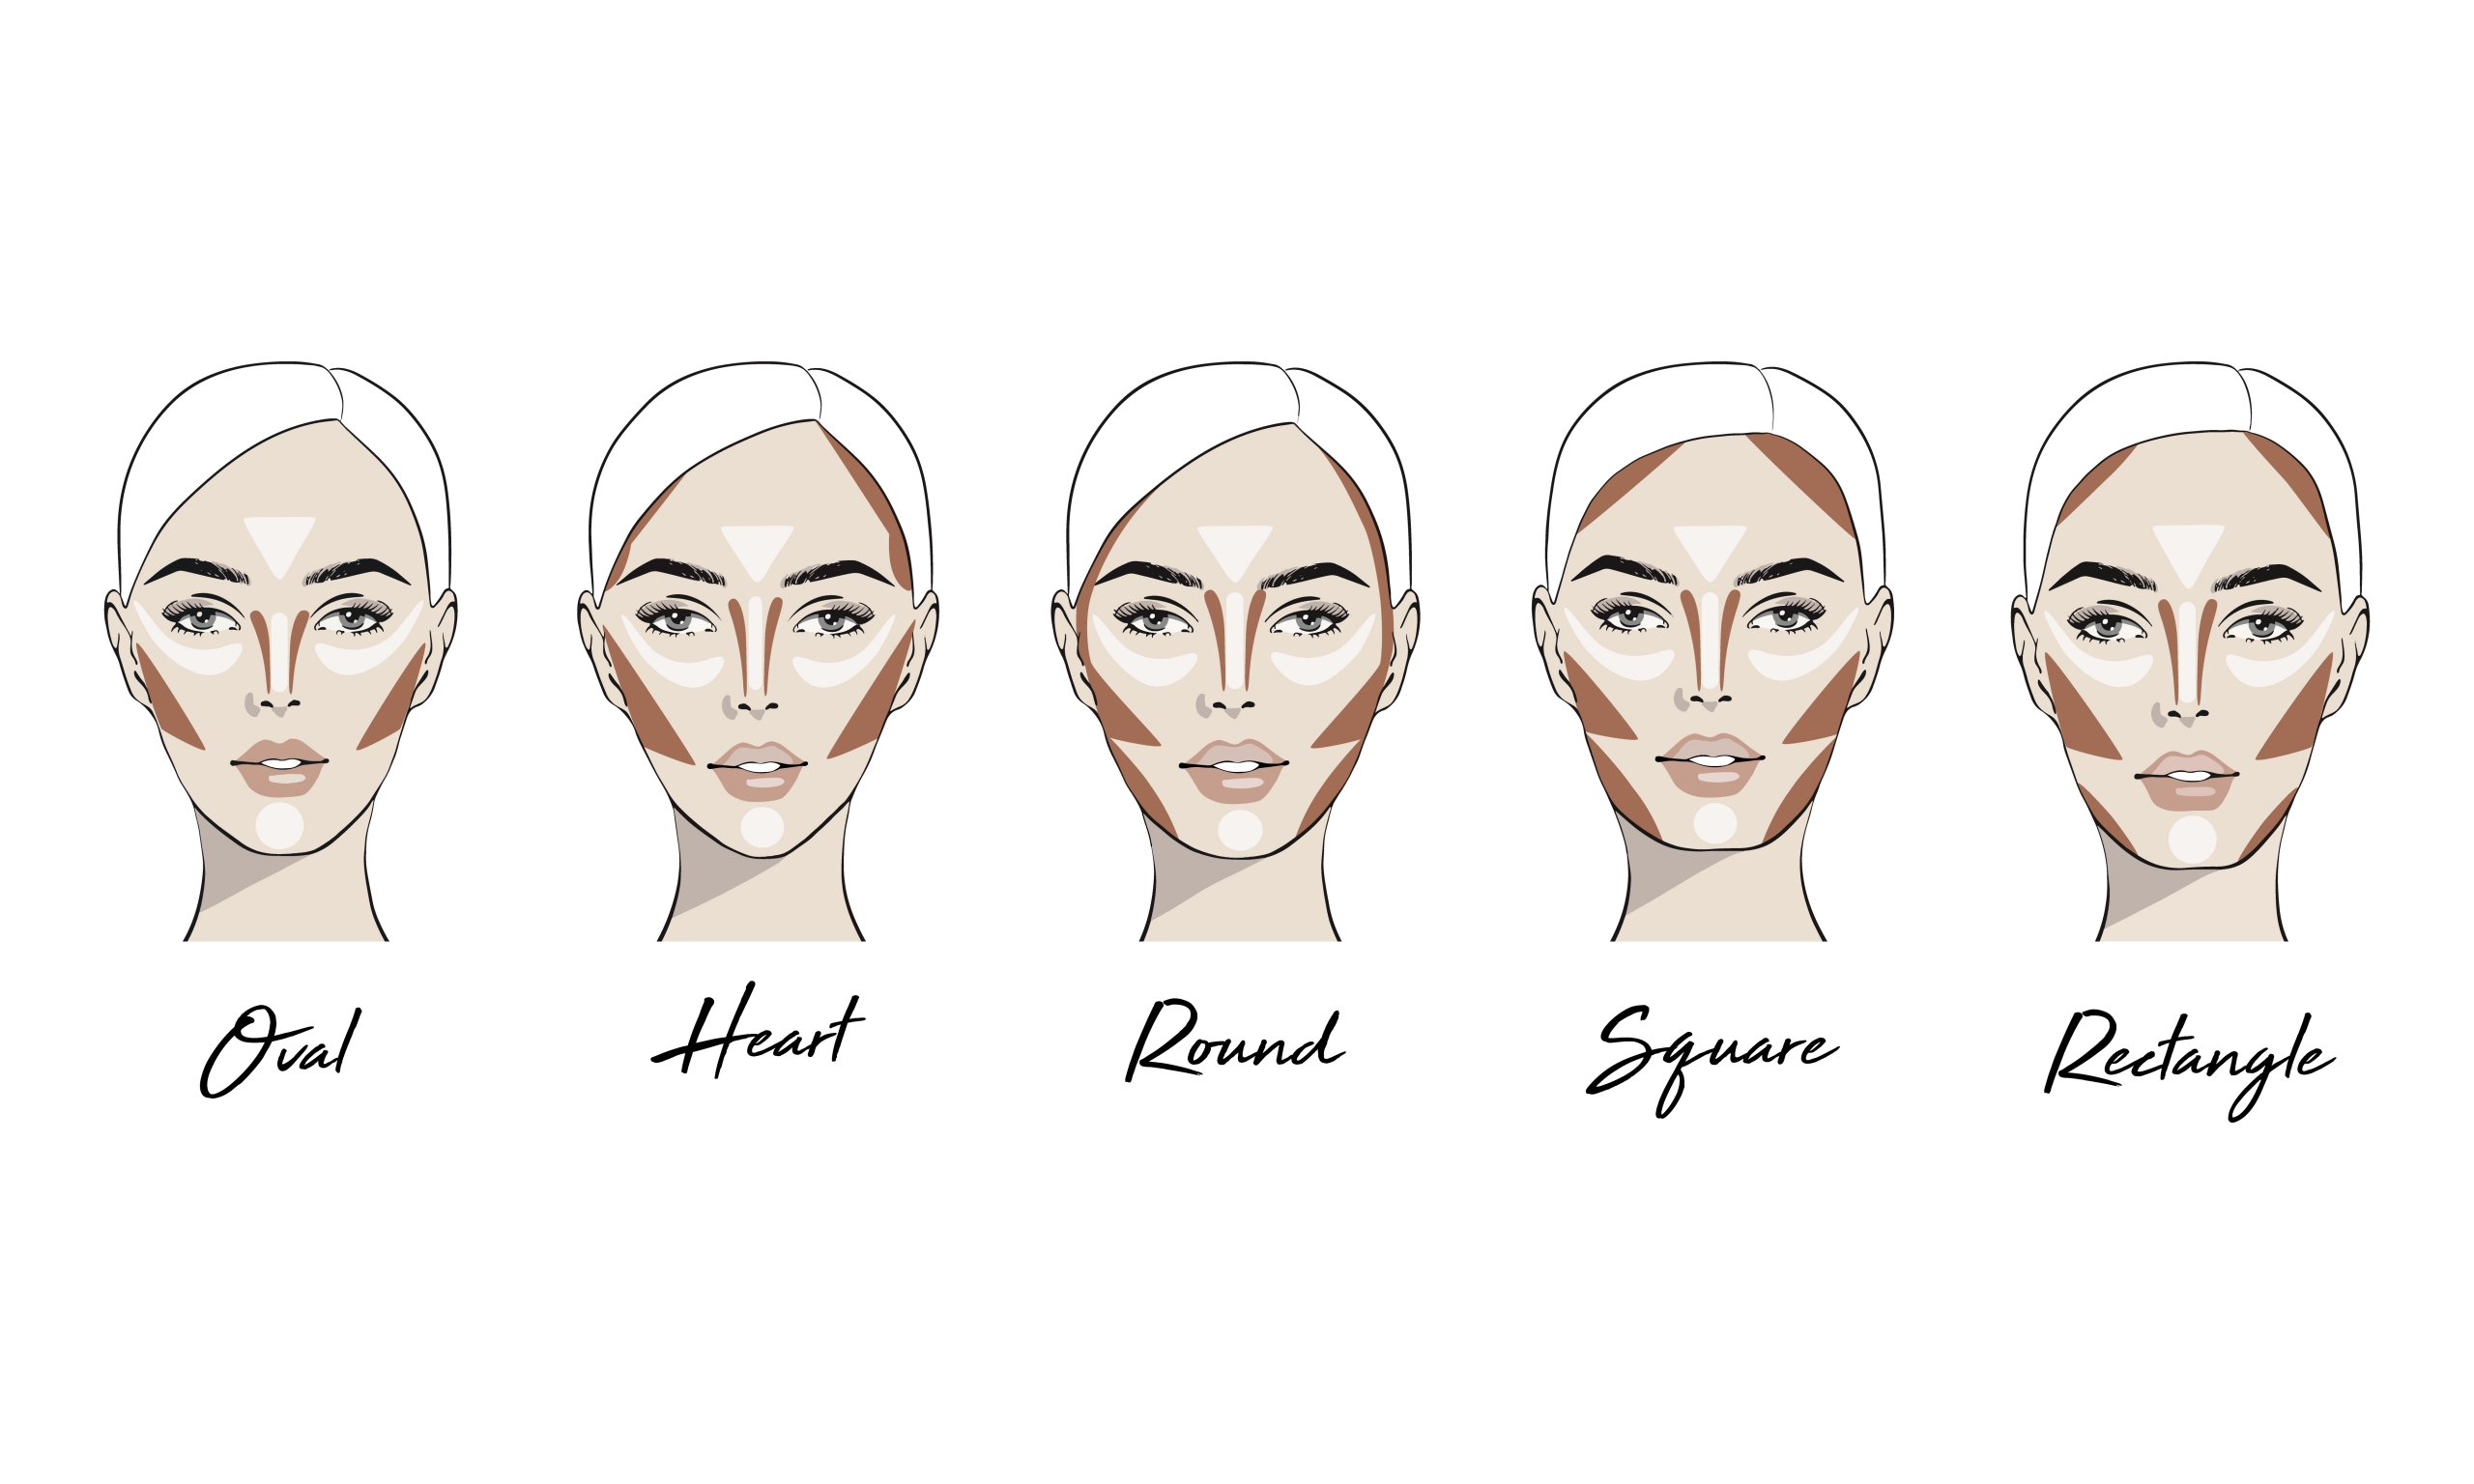
Step 2 – Bronzed radiance

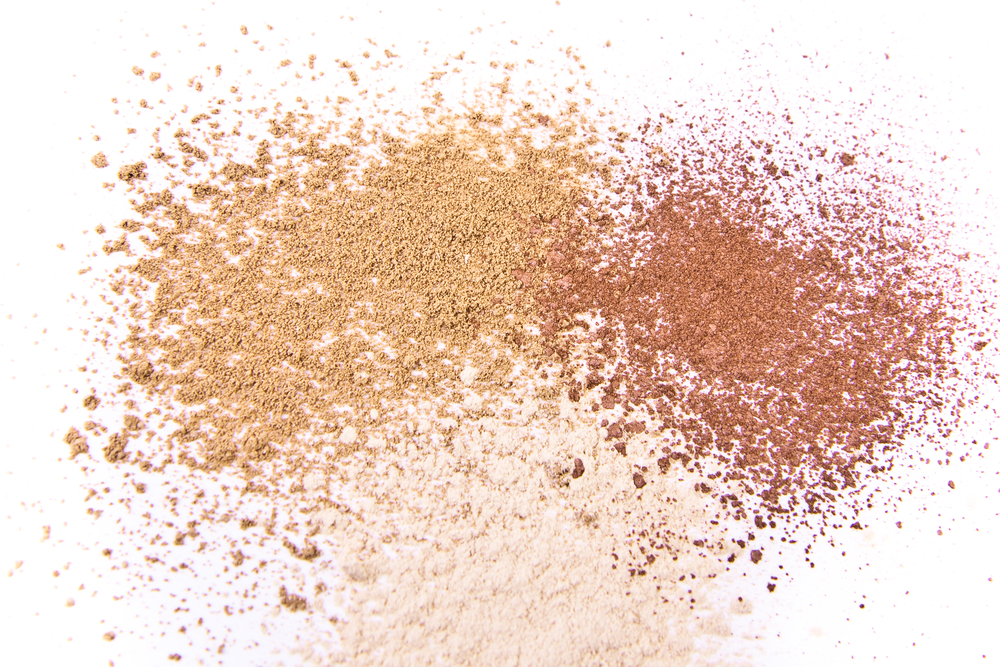
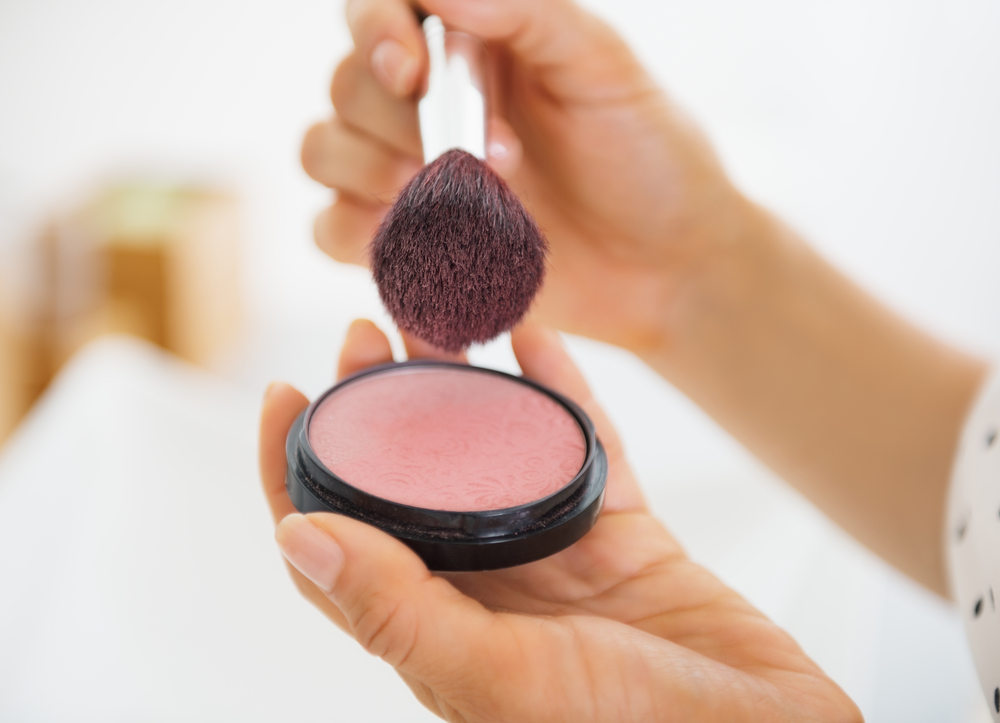
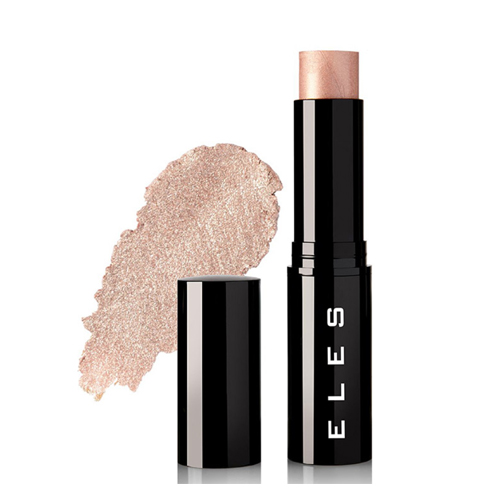
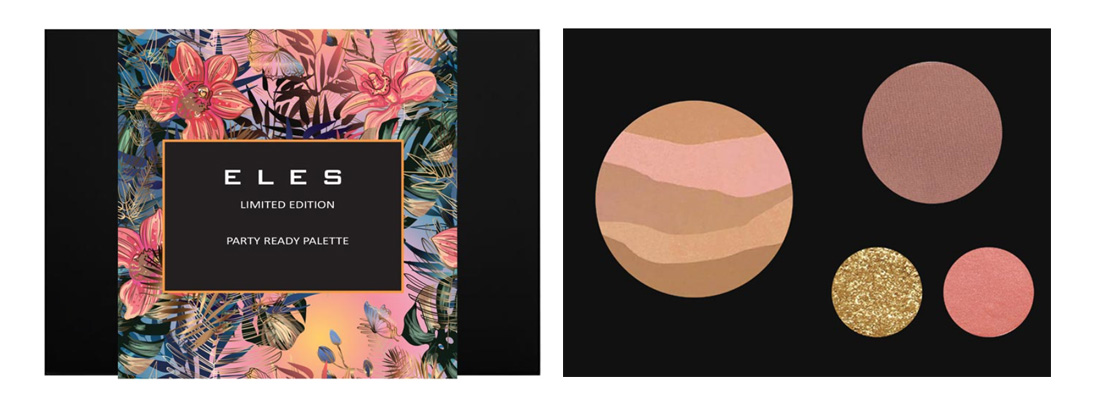
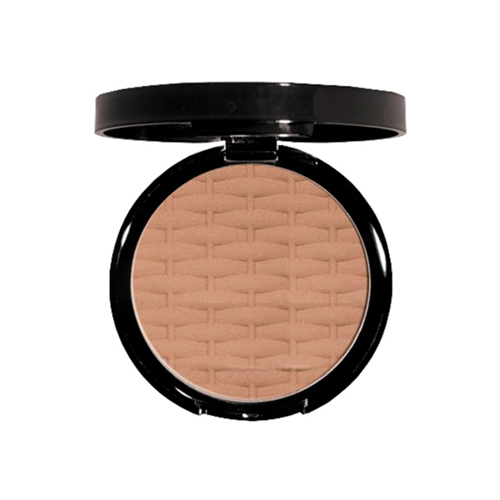
Now it’s time to enhance your features and add some colour to your face! Apply a bronzer to contour beneath your cheeks and jawline to “slim” the face (we recommend the ELES Mineral Sheer Bronzer in Rio De Janeiro as its Silky, mineral-enriched and imparts a natural radiance and youthful glow without streaking.) Then apply a little extra to your forehead to add that “sun-kissed” warmth. Finish by applying a touch of warm-toned blush to add a hint of colour to your cheeks.

ELES Bronzer Rio de Janeiro

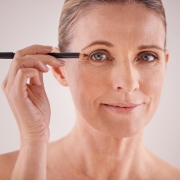
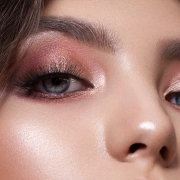
Step 3 – Stand out eyes

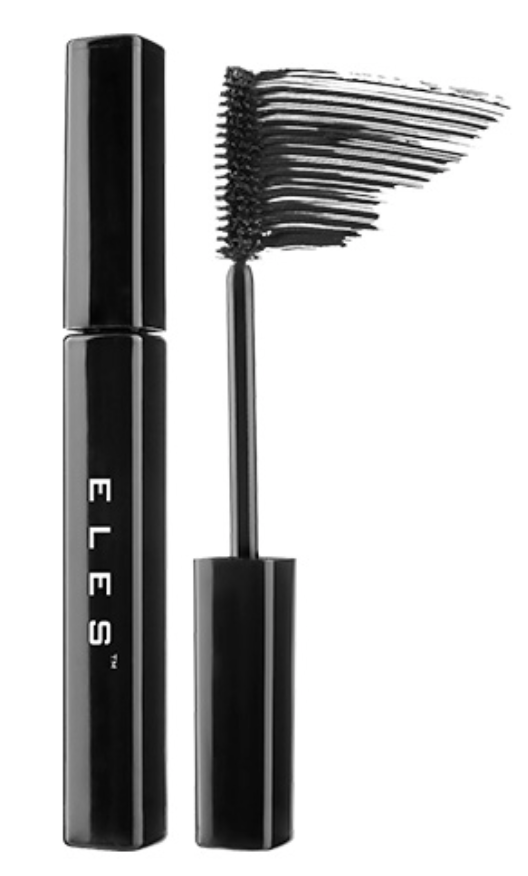
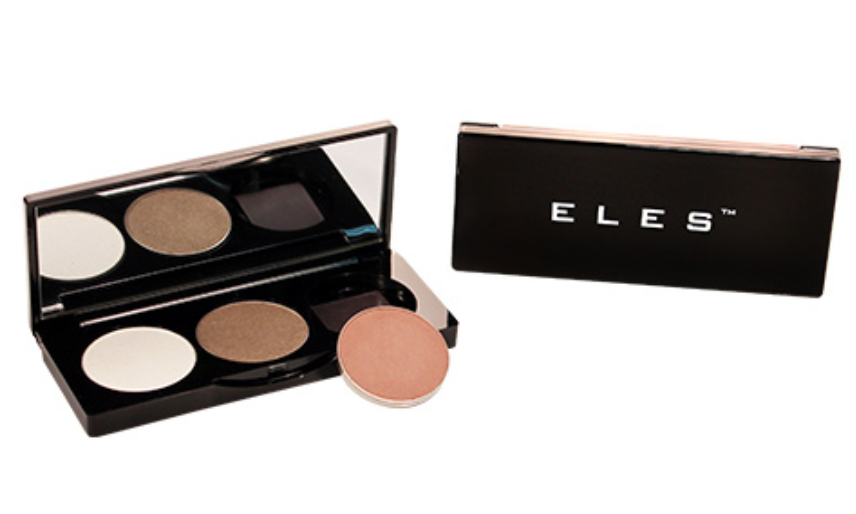
Embrace old school glamour when it comes to your eyes by firstly applying a neutral eyeshadow across your lids. Next use a taupe or soft brown shade and blend softly above the crease of your eye lid, as well as beneath the lower lash line for a subtle smoky finish. Finally add your third shade (a deeper brown) to just below your brow bone. Try the ELES’s Build your own shadow palette and choose the shades that would work best for you. Next it’s time to amp up the drama with a jet-black liquid eyeliner, like ELES Felt Tip Liner, adding a winged effect. Finish with a coat of volumizing mascara for fluttery lashes.

Build your own Shadow Palette

Step 4 – Brows

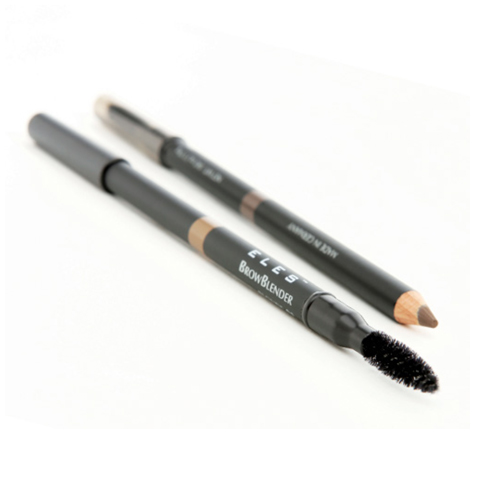
Now it’s time to put some emphasise into your eyebrows. We recommend you use the ELES Brow Blender in Dark Taupe. With the spool end, brush the brows upwards, then using short soft strokes apply the pencil.

ELES Brow Pencil

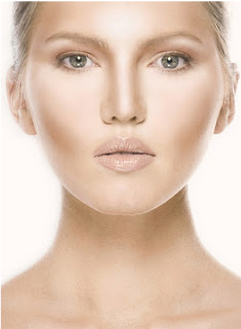
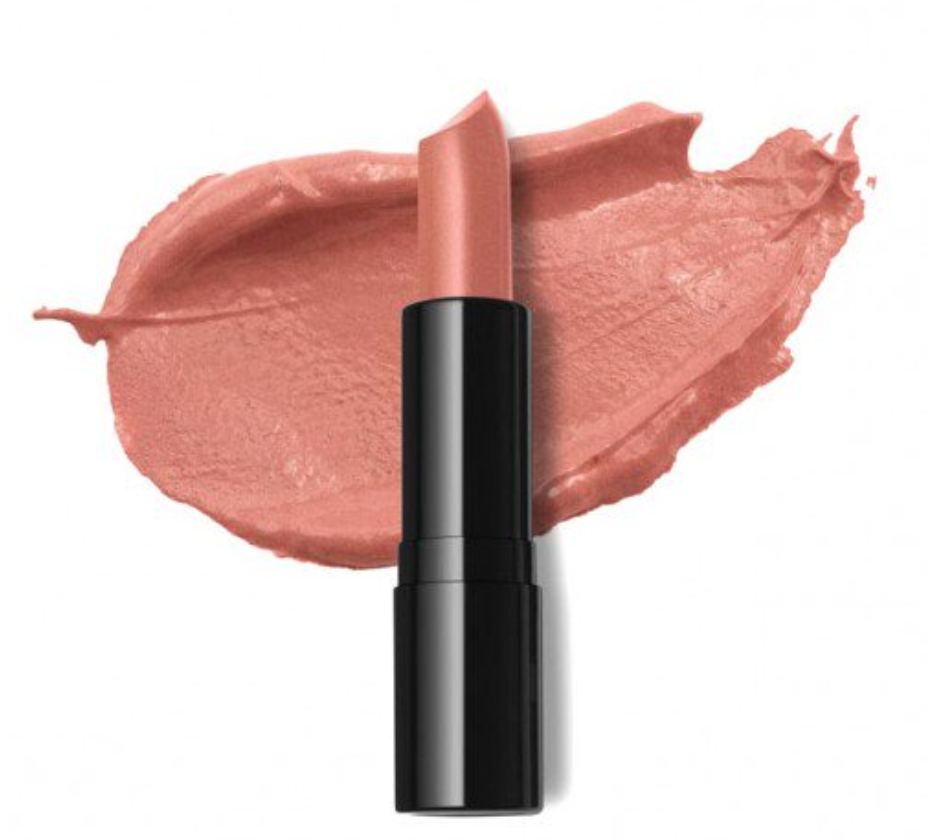
Step 5 – Subtle lips

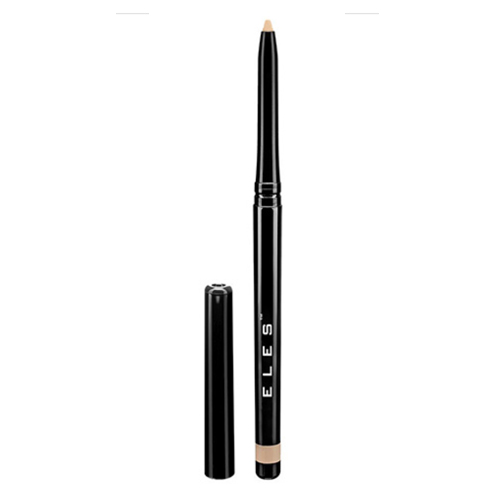
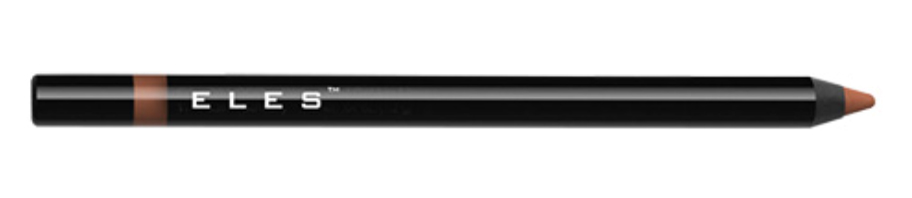
Complete Jennifer Lawrences Oscars look with a soft, nude lip colour. Choose a hydrating formula for a plump pout. We adore the ELES Velvet Satin lipstick in Middlesex Street. Outline your lips with a nude lip liner such as the ELES Gel Lipliner in naked for added definition.

ELES Velvet Satin lipstick in Middlesex Street

Step 6 – Final touches

Add a sweep of translucent powder to ensure longevity. A setting spray will add a natural dewiness or lock in your look too.

Beauty Collective - Pevonia - Hyaluronic Acid HydraMist™

Remember, practice makes perfect. Experiment with these steps, adapting them to suit your unique features and personal style.

middle aged woman applying eyeliner

Look younger with makeup: 14 expert tips

Who says you can’t cheat a little on the ageing game with the magic of makeup? While skincare is essential for keeping skin healthy and happy, makeup can literally take years off your face in next to no time, you just need to know what and how to apply! Well we’ve put together our top makeup tips from the BC experts, 14 makeup tips that will have you looking younger in a matter of minutes! Keep reading as we count them down.

1. Start with a nourishing base, every time.

Before applying any makeup, you need to start with well-hydrated skin so don’t get lazy when it comes to your morning skincare routine. Start by making sure your face is perfectly cleansed, then apply your serum and moisturiser.

If you haven’t prepped your skin before applying your foundation, chances are your skin will look and feel dry. Plus makeup tends to stick to dry areas on the skin making it appear patchy. It’ll even seep into fine lines and wrinkles accentuating them!
For best results apply your moisturiser and wait five minutes for it to properly absorb in. Remember hydration really is the secret to plump, younger looking skin!

2. Arm yourself with a primer

Primers are often the forgotten step when it comes to makeup application but we are here to tell you that this underrated makeup staple is a necessity, especially when it comes to looking younger with makeup! Creating an extra layer between your skin and makeup, face primers are used to plump fine lines, blur impurities and blemishes, smooth skin, and help makeup last all day without caking, creasing or the need for constant touch-ups. They really are key to achieving smooth, flawless skin that’s perfectly prepped for your foundation!

Check out our favourite primers here.

ELES Pore Perfecting Face Primer

3. Always opt for a dewy foundation

You might be a lover of powder foundations but if you want to create a more youthful and radiant complexion you need to consider ditching the matte finish. No matter your skin type, too much face powder can actually age you! That’s right, it can highlight fine lines and wrinkles instead of helping to conceal them. Instead embrace dewy foundations, BB Creams or tinted moisturisers instead. They provide skin with natural coverage, SPF protection (which we all know is the main contributor to premature ageing) and a perfect subtle glow.

If your skin tends to be on the oily side, you can still use a little powder, but remember sparingly and just on your t-zone.

Beauty Collective - Mineral Sheer Tint

4. A good concealer will give you an instant eye lift

Concealer really is your best friend when it comes to looking younger! Used correctly, concealer can brighten a tired complexion, cover up any blemishes, conceal dark under-eye circles and have you looking bright-eyed in seconds! To look younger, you’re best to opt for a concealer packed with amazing anti-ageing and eye nurturing ingredients like ELES Dual Action Concealer and watch those ageing dark circles, puffiness, age spots and blemishes disappear in seconds!

Just be sure to choose the right shade for your skin and apply it correctly! For more on the best way to cover undereye dark circles click here.

ELES Dual Action Concealer

5. Lift your lashes

As we age our lashes get thinner and shorter so it’s essential to add volume so they stand out! A lash lift with mascara is a powerful tool for defying the ageing process! Darkened and defined lashes open up our eyes, creating a refreshed, youthful and wide awake appearance.

Curling your lashes can work wonders too but be careful how you do so! For more information on the best mascara, mascara hacks and eye lash tips for mature women click here.

6. Play with eyeshadow shades

Eyeshadow isn’t an essential step but by adding a touch of shimmer to your lids can enhance eyes ageing eyes. Just be sure to opt for warm, neutral eyeshadows. Soft, earthy tones can create a subtle, age-defying effect.

makeup powder

7. Skip the heavy black eyeliner

If you use eyeliner, as many of us do, you’ll want to trade your harsh eyeliner for a softer approach. Use brown or grey liners for a more natural look that defines without weighing down your eyes.

8. Brighten eyes with a waterline eyeliner

Investing in a waterline eyeliner will be a game changer for tired eyes. All you need to do is line your bottom waterline for an instantly wide-eyed effect. We promise you it’s worth the money as one swipe will truly create brighter, younger looking eyes.

ELES Waterliner

9. Don’t forget your brows

Just as the hair on our heads can thin with age, so do our eyebrows! The thing is your brows can completely change how your face looks. Full, well-groomed brows are an instant youth-booster. If brow are thinning, fill in sparse areas with a brow pencil or powder for a lifted, more defined look. But don’t overfill the front part of your brow though! This area should have soft hair that graduates into more density. If you overfill this area you can make your eye brows look way too harsh. Read more on how to create perfect brows.

10. Applying blush is a must

Believe us when we say a sweep of blush on the apples of your cheeks adds a youthful flush. Just be sure to apply it correctly – use a blush brush and lift colour upwards towards your temple from the apple of your cheek.

blush and blush brush

11. And don’t forget bronzer

Bronzer is your secret weapon for a youthful glow! Applied strategically, it adds warmth to your complexion, erasing signs of fatigue and dullness but instead mimicking a healthy, sun-kissed glow.

Just be careful when and where you apply it as dusting copious amounts of bronzer all over our nose, chin, cheeks and forehead can play up fine lines and large pores as the powder sinks into them. The best (and the most flattering!) way is to apply your bronzer is with a bronzer brush to the perimeter of your face in the shape of a number three. Start on your forehead near your temples and loop down to the tops of your cheekbones, then curve out and around again along your jaw.

12. Plump up those lips

As we age, many of us will experience a reduction in lip volume and thinning of the lips! So you’ll need to create the illusion of plumped lips with lipliner! A lipliner will define your lips and prevent feathering. For more on how to apply lip liner for fuller looking lips click here.

Gel lipliner

13. Using an illuminator can add luminosity to skin and help accentuate cheekbones

Finish your look with a subtle illuminator on the high points of your face – cheekbones, brow bones, and the tip of your nose.

14. Set your makeup with a finishing powder

A light dusting of translucent powder, finishing powder or even facial mist will set your makeup, preventing it from settling into fine lines. Remember, less is more in the powder department.

facial contouring

How to contour like a PRO: Your step by step guide

Facial contouring – we’ve likely all heard about it, after all it’s a technique that makeup artists have been using for years now! This is because contouring has the ability to totally transform your face! Adding depth and dimension to your features and bone structure like nothing else. We are talking chiselled cheekbones and sculpted jawlines! But surely this makeup technique is reserved only for professionals, right? Especially since it can look somewhat intimidating! The thing is we can all sculpt those cheekbones of ours like any seasoned artist, we just need to learn how!

Keep reading for our simple step by step guide on how to contour like a pro and achieve perfectly chiselled features in under 5 minutes without the need for surgery!

Step 1: Gather your tools

First things first, make sure you have the right tools at your disposal. You’ll need a bronzer (the bronzer you use to contour should be only slightly darker than your skin tone. You can use any kind of formulation you like, though we do recommend a powder for beginners like the ELES Mineral Sheer Bronzer in Rio De Janeiro), a highlighter (the colour you choose for highlighting, should generally have a light shimmer finish, we love the ELES Stick Illuminator), tapered powder and blending brushes, a beauty blender sponge and a translucent powder.

ELES Bronzer Rio de Janeiro

Step 2: Start with a fresh canvas

Begin with a clean, moisturised face. Apply your foundation as you normally would to create an even base. Allow it to settle into your skin for a few minutes.


Step 3: Identify your face shape

Understanding your face shape is crucial for targeted contouring. Whether you have a round, oval, square, heart, or diamond-shaped face, each requires specific contouring techniques. Identify yours to tailor your approach accordingly.

The model we’ve chosen for this demonstration has a lovely round face, we’ve exaggerated the effect so you can see more clearly the placement of the product, however a lighter effect is recommended.


Step 4: Define with contour shades

Take your contour shade (bronzer) and using a tapered powder brush apply directly beneath the cheekbones, from the earlobes fading to the corners of the mouth.

facial contouring

Step 5: Contour your nose (optional)

If you want to refine your nose shape, use a smaller brush, like a small tapered blending brush to contour the sides.

Apply a light application of your chosen bronzer directly down the outer contours of the nose and up towards the brow. Keep it subtle and build up the intensity gradually. Less is often more when it comes to nose contouring.facial contouring

Follow with a blended line sweeping across the eye contour crease to the outer eye and up towards the temples.

facial contouring


Step 6: Highlight strategic areas

Now it’s time for your highlighter! Apply to areas you want to bring forward. This typically includes the centre of the forehead, bridge of the nose, under the eyes in an inverted triangle shape, tops of the cheekbones, and the chin.

Start by taking a small amount of the ELES Stick Illuminator and apply in patting movements to the centre of the forehead above the nose and sweeping down the centre of the nose.

ELES Stick Illuminator

N.B Remember the secret to a professional-looking contour is seamless blending. Use a damp blending sponge and blend in upward and outward motions to avoid harsh lines.

facial contouring

Apply more highlighter under the eyes, to the inner cheeks beside the nose and down under the nose on the upper lip.

facial contouring

Step 7: Add a pop of colour (optional)

For an extra touch, apply a light dusting of blush to the apples of your cheeks. This adds a healthy flush and will complement your contoured features.

facial contouring

Step 8: Set with translucent powder

To lock in your hard work and prevent any smudging, set your contour with a light dusting of translucent powder. This step is especially important if you’re using cream or liquid products.

Voila! You’ve just contoured like a professional! Just remember practice makes perfect, so don’t be discouraged if your first attempt isn’t flawless. The key is to experiment and find what works for your unique features.

CONTOURING GUIDE FOR DIFFERENT FACE SHAPES

facial contouring

Beauty Collective - party ready look

Party ready makeup – get the look

It’s that time of the year again – the silly season as we like to call it! The season of fun and festivities, and, of course, Christmas get togethers and parties!

To look your best, and stand out from the crowd of course! You’ll need to nail that party ready makeup look, we are talking skin that glows and eyes that shimmer and pop. Want to achieve our go-to look? Keep reading for the ultimate step by step guide.


Step 1. Pre party prep

Before we jump into creating the perfect party ready makeup look, let’s talk skin prep. You’ll need to thoroughly cleanse your skin first with your choice of cleanser, next apply your much-loved moisturiser, (make sure you let it soak in) then it’s time to prime. Think of it as the canvas for your masterpiece. A smooth base will ensure your makeup lasts all day or all night long!

Step 2. Apply your foundation

Now it’s time for your makeup! Starting with foundation. Not sure which foundation to use. Click here for the best foundation for your skin type.

For skin that glows we love the ELES Mineral Sheer Tint. Work a small amount into your fingertips to warm the product and press into the skin all over the face, keep patting and pressing until the product is evenly dispersed then lightly blend into the face with your fingers until you have an even coverage.

Beauty Collective - Mineral Sheer Tint

If you are more of a matte lover though (but still want to achieve a radiant base), we highly recommend the ELES Foundation Stick or Liquid Powder Mineral Foundation.ELES Cosmetics Mineral Makeup Liquid Powder Foundation

Step 3: Touch up skin where necessary with a concealer

You’ll want to use concealer to cover any blemishes or dark circles you may have. Apply a small amount to areas where needed or under eyes with fingertips or a small concealer brush gently blending. Try ELES Dual Action Concealer my personal secret weapon for concealing dark under eyes.

ELES Dual Action Concealer

Step 4: Set with Powder

Once you’ve finished applying your base it’s a good idea to set the products with a translucent setting powder like ELES Mineral Powder Foundation to prevent shine.

ELES - Mineral Powder Foundation

Step 5: Bronzer and Blush

Now it’s time for you to add some colour!

We are loving the ELES Party Ready Makeup Palette! It really is perfect for creating a party ready look.  It features a bronzer, blush and two shimmer eyeshadow shades.

Firstly take your bronzer to add contour to your face. Using a large fluffy powder brush apply to the cheekbones, under the jawline and along the perimeter of the forehead, blend well for a natural sun kissed look. Follow with the Blush, applying it to the apples of your cheeks for that beautifully flushed finish.

ELES - Party Ready Palette - LIMITED EDITION

Step 6: Highlight

For a truly lit from within look, this is a step you won’t want to miss! Highlighter can also be used to accentuate and “lift” bone structure. It’s amazing!

Apply highlighter to the high points of your face, such as cheekbones, the bridge of your nose, and the cupid’s bow. We recommend the ELES Stick Illuminator.

ELES Stick Illuminator

Step 7: All about the eyes

Now it’s time to accentuate those eyes. You’ll want to take the ELES Party Ready Palette again using the two shimmer shadows.

Firstly apply the pinky/peach shade all over the eyelid. Next, apply the gold shade on the base of your eyelid carefully blending up towards the eye crease and below the lower lash line to create a natural smoky eye. Finish by applying a little of this shade to the inner corners of your eyes with your fingertip.

Step 8: Add eyeliner for definition

Eyeliner shapes and defines eyes and makes eyelashes look thicker. Take a bronze shade eye liner and apply it to the upper lash line as well as a little to your bottom waterline. This will help eyes to pop. We love ELES Superwear Gel Liner in Baroque. It is super smooth and longwearing so stays put all day long without smudging! Just what you need from an eyeliner!


Step 9: Finish with lashings of mascara

And finally to finish off the eyes, apply several coats of Lush Mascara in Black to the top and bottom lashes.  Work from the base of the lashes wiggling the wand slowly up the lashes for extra volume.

ELES Lush Mascara

Step 10: Define your brows

For some, your eyebrows can be an afterthought, but by defining and shaping them you can completely transform your face and give the appearance of an instant eye lift too! Start by brushing your eyebrows so the hairs are sitting naturally, then use a soft, waxy brow pencil like the ELES Precision Brow Pencil to shape and fill in your brows using short, hair-like strokes. Next, define and ‘lift’ brows by using a white eyeliner as a brow highlighter. Line below and above your eyebrows and smudge it out with a sponge or fingertip. You can also opt to use a highlighter if you don’t have a white liner on hand. Read more on how to create the perfect brows.

ELES Precision Brow Pencil

Step 11: Complete the look by focusing on your lips

To complete the look, it’s time to focus on your lips. Apply lipstick to the lips with a lip brush to create definition in the outer edges, blot the lips with tissue, then reapply from the tube directly to the lips.  Blot again for a soft matte finish. Use a lipstick colour of your choice, one that complements your overall look. Bold or neutral shades can work depending on your preference. You can add a little gloss too as desired.  And voila! You’re ready to shine!