Fun for all the family: 6 simple steps to the perfect at-home manicure
Who doesn’t love a manicure? Half an hour, to an hour of ‘you’ time to be pampered and preened, and at the end, you come away with fabulous looking fingertips! Sadly though, with social distancing still in place, that frequent visit to your nail salon isn’t an option for now, but it does make for the perfect time to master your DIY manicure skills!
At-home manicures can still be a relaxing activity, as well as a lot of fun if you get your kids or whoever you might live with, involved. While you may not be able to give yourself or each other a gel manicure or a professional shellac, (best to leave those to the professionals) you can still try and recreate a full nail salon experience at home, it just takes a few simple steps and the right products.
Read on for our step by step on how to perfect an at-home manicure;
Step 1 – Remove old polish
If your nails are baring the remanence of regular polish, you simply need to remove it with a good polish remover, but if you’ve been sporting a gel or shellac manicure for some weeks now, a little more effort is involved – but still easy to do! Simply use a fine-grit nail file and very gently file the top coat of the gel, next pour some pure acetone into a bowl, and soak nails for three to five minutes. Finally use a birchwood stick or similar to gently remove the remaining gel. Alternatively, you can soak some gauze in acetone, apply to fingertips and wrap in aluminum foil for 15 minutes.
Step 2 – Determine the best nail shape for you
While there is no wrong nail shape so to speak, there are a couple of rules of thumb which you should follow when deciphering which nail shape would be best for you.
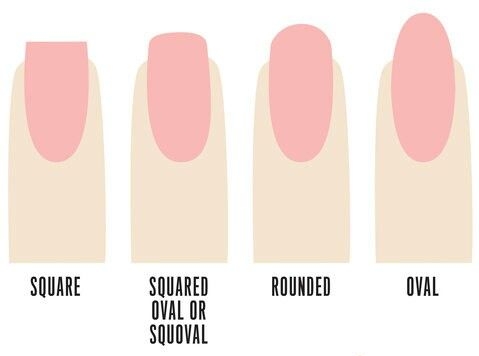
If you like maintaining longer nails, it’s best to opt for an oval shape as this way your nails are less likely to snag. Oval nails also tend to be the most flattering as they create the illusion of slimmer, longer fingers no matter their size or shape. A more square shape tends to work best for short, neat nails, but just be aware that this can be the hardest nail shape to wear too, as it can make your hands appear stumpy! So your other option for short nails (even nail biters!) is rounded. It’s a simple shape, extending only slightly past your nail bed and in line with maintaining your nail’s natural shape.
Step 3 – Trim, file and buff your nails
Once you’ve decided on your perfect shape it’s time to get filing! If your nails are really long and you are vibing shorter nails this time around, it’s best to trim them slightly with nail clippers.
See-sawing back and forth with your file can actually weaken the nail and cause it to split and/or peel. Instead file from the outer edges of your nail toward the center in one direction. Just make sure you use a good quality file.
Finally, buff the tops and sides of your nails with a nail buffer. This is an important step as it’ll help create a smoother surface for polish application but it’ll also prevent the build-up of natural oils on your nails.
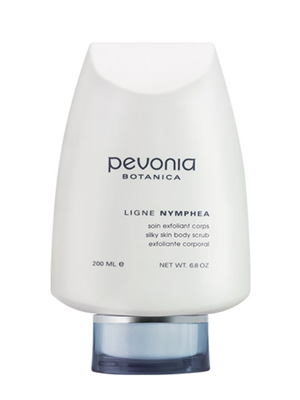
Step 4 – Exfoliate your hands
Exfoliate hands, wrists, and forearms with a scrub that eliminates dead skin cells while replenishing moisture. I love Pevonia’s Silky Skin Scrub. Its creamy formula gently polishes away dead skin cells and impurities with jojoba beads, rosemary, sage, and allantoin. Unveiling smooth, radiant, and silky-soft skin. Heavenly.
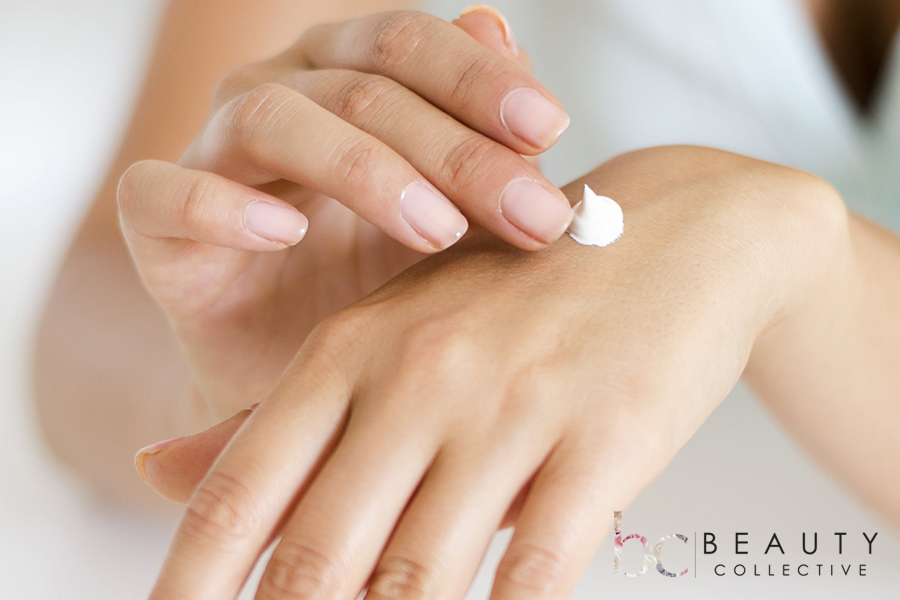
Step 5 – It’s time for some hand pampering!
All hail the hand massage! – just because you’re not in the spa or at your favourite nail salon doesn’t mean you can’t be pampered for a minute or two or three! Even when my four year old daughter has a go at this step it’s honestly a little luxury, and she loves playing beauty therapist! Research has also proven that a hand massage can not only increase hand strength and elevate any aches and pains but also reduce feelings of stress and anxiety!
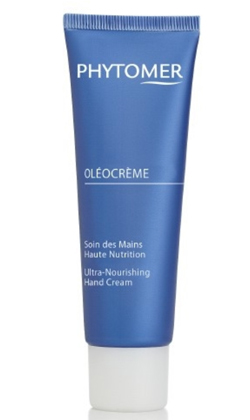
Now first things first you want to indulge your hands and nails in the spa treat they deserve so choose wisely! I highly recommend Phytomer’s Oleocreme Ultra-Nourishing Hand Cream. Enriched with a blend of skin-loving ingredients, this luxurious treatment soothes, softens, and deeply nourishes hands. Also unlike many other hand creams, it absorbs super-fast to instantly condition hands and nails without leaving them sticky and slimy.
To start your massage gently stroke your hand (or the hand of your mani-partner) to relax and warm it. Now take your cream and gently rub it between your hands to warm it up a bit, then start by rubbing it into your arm with long smooth motions from wrist to elbow, this is to warm up the muscles. Next, use your thumb to lightly rub the back of your wrist and hand applying moderate pressure as your thumb nears the wrist. Now move onto your fingers taking time to massage each finger individually. Give each finger a gentle twist in alternating direction then give a quick but not too firm full to finish. Repeat this for each finger and your thumbs.
When you have finished focusing on each finger turn your hand over. Use your thumbs to apply pressure to your palm. Then interlock your fingers and slowly rotate your hands. Alternate directions and stretch it out. Finally, cup your hand around your forearm and gently move it all the way down the arm from the elbow to fingertips applying a little pressure.
Once your pampering is complete, give each nail a quick swipe with nail polish remover to get rid of any oily residue.
Step 6 – Apply your polish
Now for the fun part! It’s time to polish!
Firstly, it is important to invest in a polish that is not only long-lasting but healthy for your nails too. Look for “5-free” options which means it’s DBP, Toluene, Formaldehyde, Formaldehyde Resin, and Camphor free. ELES Cosmetics nail polishes are made with the best of Australian quality ingredients and have a 5-free professional patented formula which holds its colour and shine for days. They don’t require a base coat but you can still opt to apply one first if you wish.
Now select your colour of choice – my forever favourite is the ELES Cosmetics Nail Polish in Alice in Wonderland, while my daughter is currently loving Some Like it Hot! On application be sure not to overload the brush with polish (you need just enough to cover the nail in one coat). Brush from cuticle to nail tip in as few strokes as possible, preferably three times only – one stroke down the middle of your nail, one on each side. For seamless coverage it’s best to apply two coats, however the longer you can wait between coats, the better.
You can complete your manicure by applying a topcoat if you wish, this can protect your manicure and add a little extra shine.


