Posts

Beauty Collective - blush

A complete guide on where and how to apply blush correctly

Ah blush! The one product in your beauty arsenal that can enhance the features on your face while providing skin with a natural warm, rosy glow.

I’m personally a huge lover of blush and wear mine daily all year round. It’s the perfect go-to when you’re after a minimal makeup look that’s quick and easy to apply. It also works in perfect unison with bronzer when you want to contour your face or simply create a healthy sun kissed glow. The problem is with the many conflicting tutorials out there, where, and how do you actually apply it? Well, we turned to the experts at Beauty Collective for the low-down. Keep reading for our complete guide on all things blush!

Why you should wear blush

When used correctly, blush can totally transform pale, dull or washed-out skin. It infuses warmth into any complexion by adding a touch of natural, flushed-cheek colour, so your face looks instantly brighter, healthier (and perkier!)

Blush is also a great multitasker! This complexion booster not only adds colour to your cheeks but can also double as an eyeshadow (a great way to tie your makeup look together) and if you opt for a brown-toned blusher you can use it to contour your face. That way you get a blush and contour effect in one – a great time-saver!

What type of blush should you use?

Today’s blushes come in many textures — cream, powder, liquid. As a general rule of thumb, cream is great for dry skin, while powder is the best option for oily skin types, but it’s also a personal preference. Natural makeup works well with creams, but with powder you can be more direct on where you place it, and it tends to last longer too.

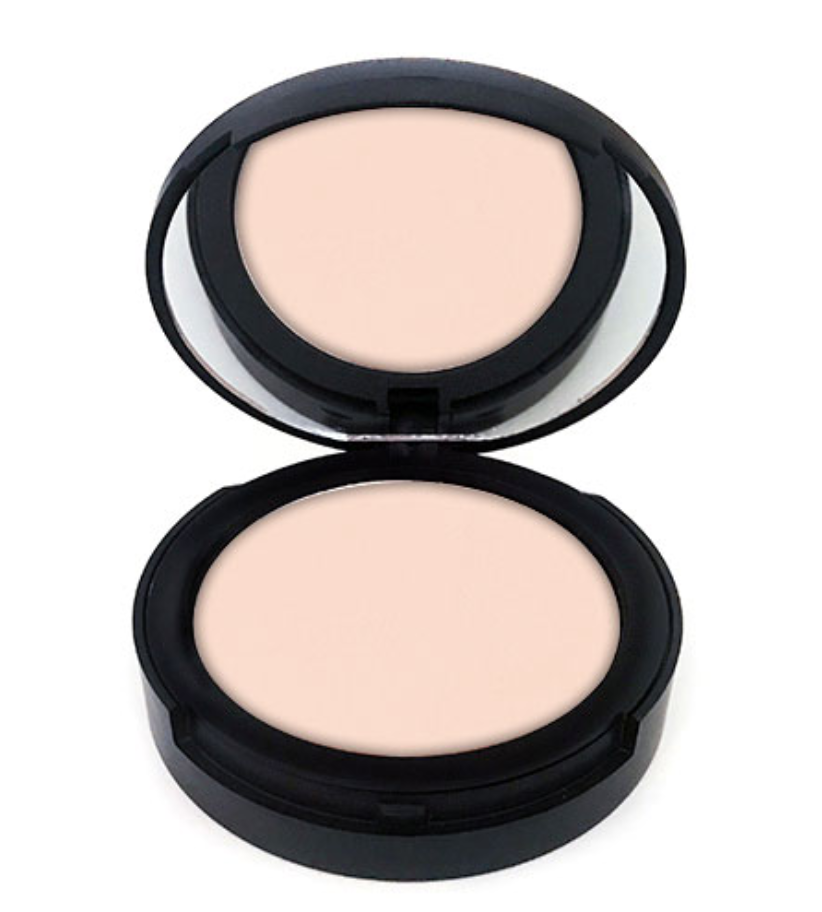
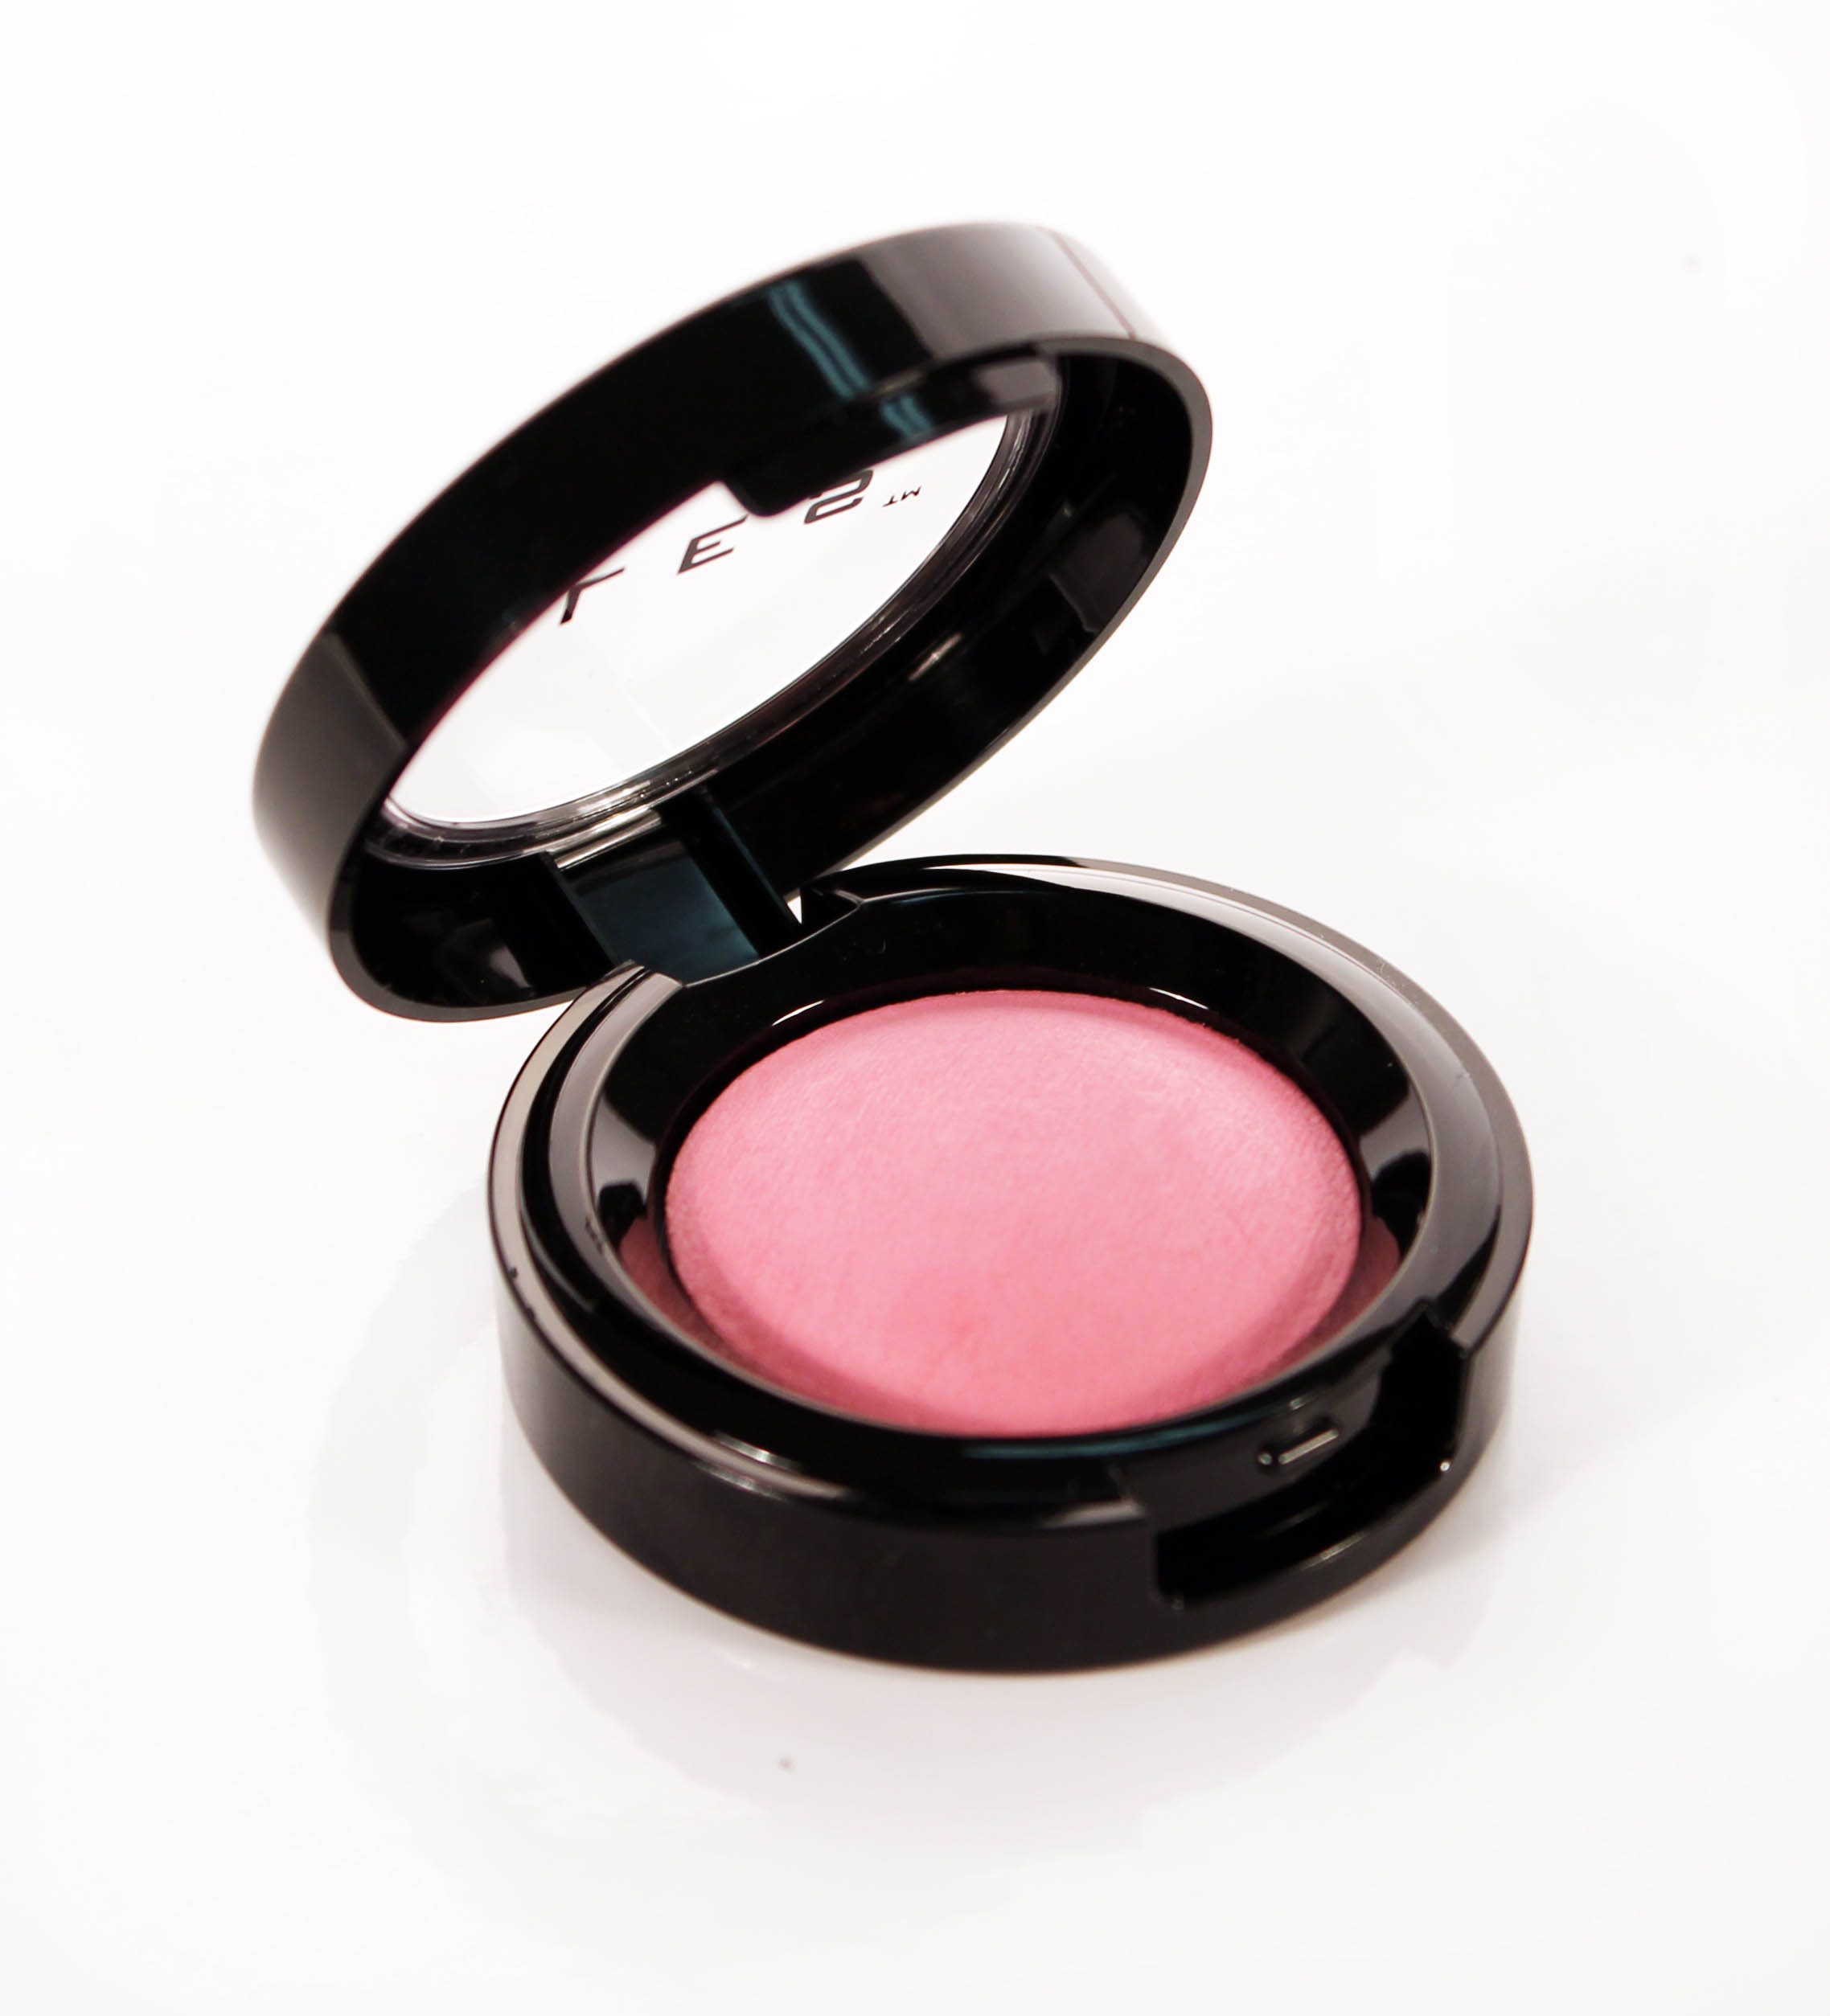
However, for the best of both worlds we highly recommend baked blush – a pigment packed powder blush! Powders are usually made from lots of pressed powders, but baked powders are actually creams that have been baked slowly in a specialist oven until they are dry. This is what gives baked makeup some of its unique attributes; it has an ultra-soft, velvety texture and provides a sheer wash of soft colour for a naturally flushed complexion.

How do you choose the right blush shade?

Choosing the right shade can be a little tricky. Firstly, you need to understand your skin’s undertone (whether it’s warm, cool or neutral) then once you know this, choose a shade within your undertone, you can go as light, natural, bright or deep as you want.

In general, if you have fair skin opt for light, dusty pinks and sheer peaches. If you want to make a bold statement, you can even give bright pink a go!

For medium skin bright pink looks great on a cool undertone while coral and orange bring out warm tones.

And if your skin is more on the olive side, anything with a golden undertone will bring out the rich warm tones in your skin. If you’re more of a cool olive, try light plums and cool pinks.
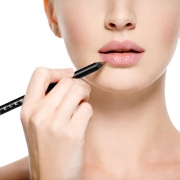
How to apply blush

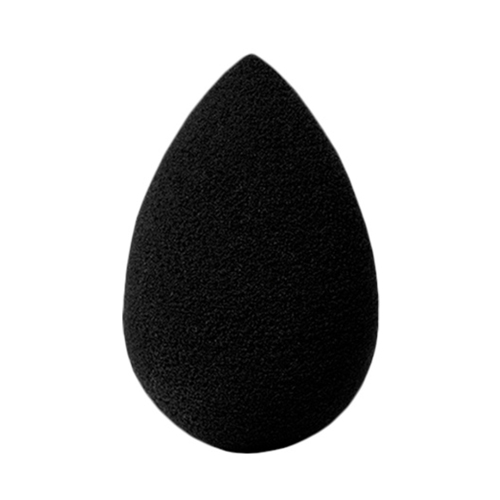
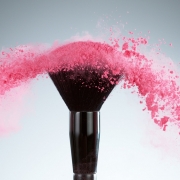
How you apply your blush is just as important as the type and shade you choose. Firstly, you have to select the right tool for application! Opt for a sponge when using creams, a sponge or fingers work fine with liquids and use a brush for powders.

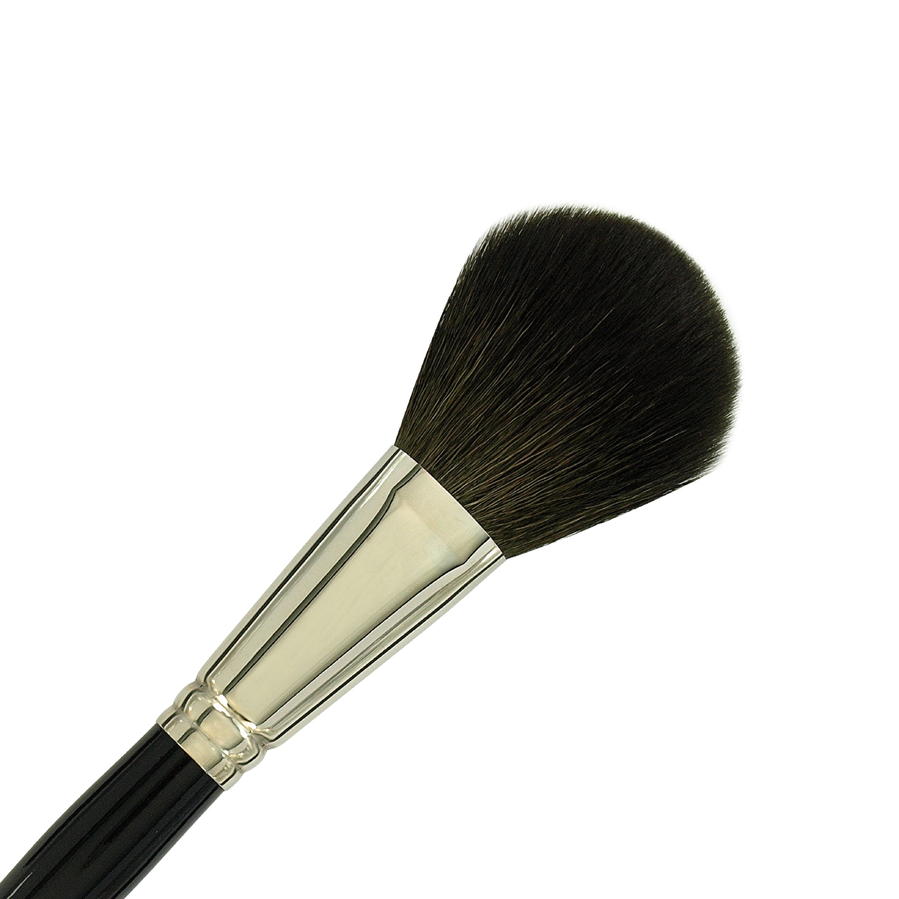
If powder blush is for you, you need to choose your brush wisely too! A big soft brush can be very ineffective. Choosing a specific powder blush brush is your best bet as it tends to be on the firmer side so that when you apply the blush to your skin you can control the powder and ensure in spreads correctly and in the right place.

Where to apply blush

The ever-popular question of where to apply your blush can have a different answer depending on what you read, or what the trends are, however here at BC we use the general rule of thumb as below;
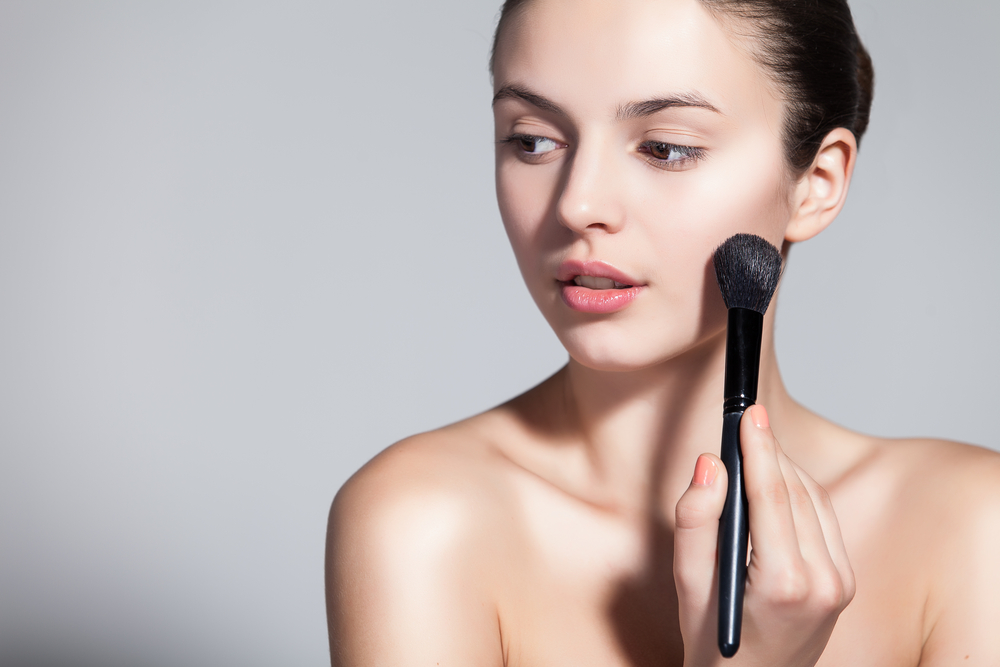
For a natural look

Follow the natural structure of your cheekbones. It’s best to smile and then apply blush to the apples of your cheek and blend towards your temples/ears. This will lift your cheekbones and add a little extra colour to your face without looking over the top.

For an instant facelift (and to make your face appear more oval-shaped)

Apply blush to the back of your cheekbones into your temples

For a sun kissed glow

Apply blush underneath your eyes, across the bridge of the nose, and back toward the ear.

To shorten your face and create balance

Apply blush to the centre of the apples and out, just toward your eyes, avoiding blending too far out toward the temples.

Just remember blending is key when it comes to blush application!

How can you make your blush last all day?

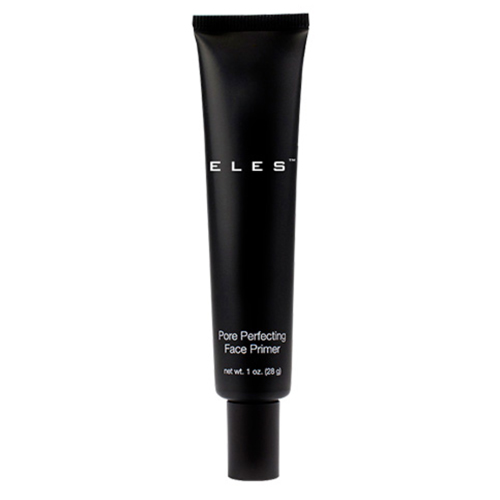
Applying a primer to your skin before makeup application will help keep makeup in place.

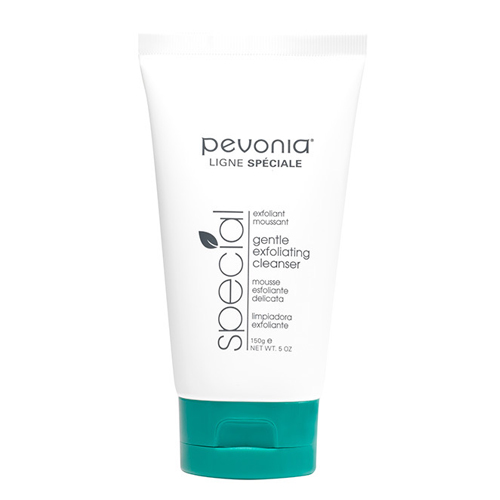
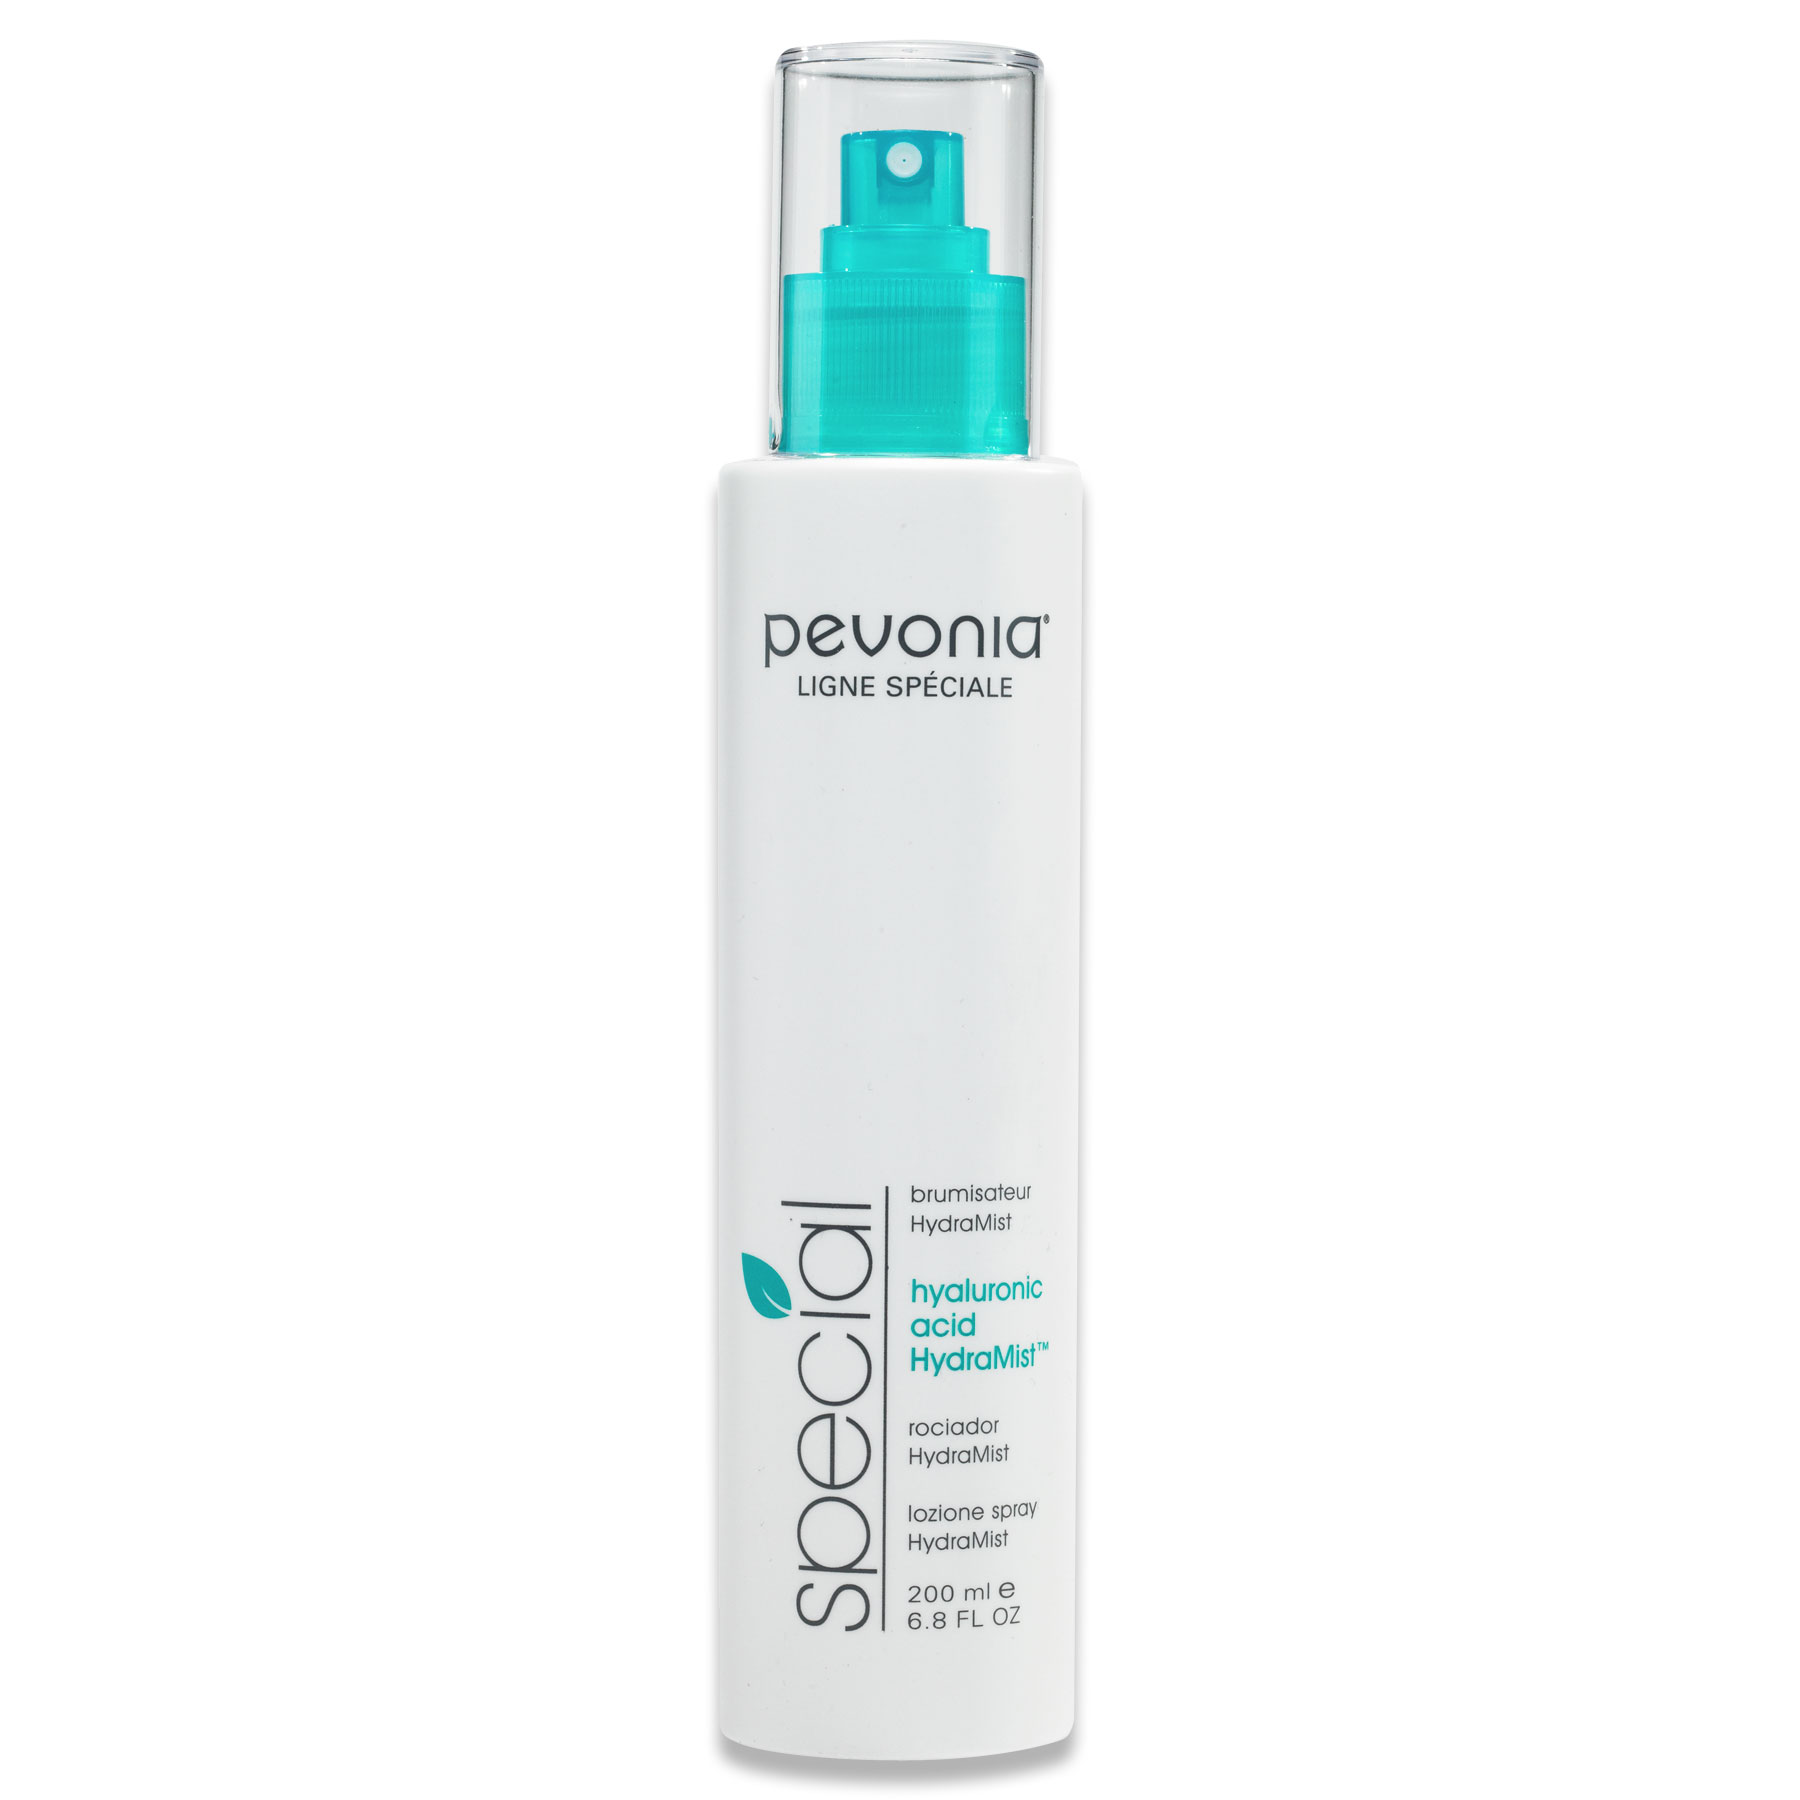
Also, once you’ve completed your makeup routine, use a facial mist or setting spray such as Pevonia’s Hyaluronic Acid Hydra Mist.

Now go yonder and blush away! And experience how incredibly energizing it can be for your complexion!

cakey makeup

How to fix cakey makeup for good

If you love makeup and like to layer it, it’s likely you will have fallen victim to cakey makeup on occasion! Unfortunately, ‘cakiness’ is an issue that happens to the best of us, but why so you might ask? Applying makeup to dry skin or using too much product are two reasons for cakey makeup but if you want to know how to fix this makeup mishap for good, keep reading as we reveal 8 top tips!

What to do to avoid cakey makeup

Both your skincare routine and how you apply your makeup are crucial factors to avoiding a cakey makeup look so make sure you focus on properly prepping your skin and then make sure you apply your makeup with precision.


Tip 1: Always make sure you prep your skin by exfoliating and moisturising to help makeup go on smoothly

Exfoliating your face once or twice weekly will remove dead skin cells and debris, this in turn will help create a smooth surface for your makeup products.

Moisturising is also essential as you want to eliminate dryness all together. Unfortunately, when your skin is dry your foundation is more likely to cake, so choosing moisturising skincare products formulated with skin nourishing ingredients such as hyaluronic acid, shea butter and squalane is paramount.


Tip 2: Always wear an eye cream

One of the most common areas of cakiness is around the eyes so you want to make sure this delicate area is perfectly prepped too! Apply a nourishing eye cream or mask such as Pevonia’s Evolutive Eye Cream and massage in with gentle tapping movements. Formulated with Squalane, Vitamins A & E, this perfectly nourishing eye cream not only tightens and firms the area around your eyes, but also works to repair fine lines and eliminate crepiness too! Thus, creating a perfectly smooth, supple surface for under eye concealer.

Tip 3: Use a primer

A good primer evens out your skin texture, making the surface of your skin smoother, so that your makeup glides on effortlessly and appears well blended. It can also help with longevity meaning your makeup will remain perfectly intact for longer!

Oily skin can also cause makeup to split on the face so using a pore perfecting face primer is a must! The ELES Pore Perfecting Face Primer combats shine, absorbs oil and reduces the appearance of pores to keep foundation looking flawless all day long! Genius.

ELES Pore Perfecting Face Primer

Tip 4: Chose the right foundation for your skin type

Choosing a foundation formula for your skin type is essential when it comes to fixing and preventing cakey makeup. If your skin is dry, you’ll want to select liquid foundations as these tend to be more nourishing and hydrating than powders. For those prone to oily or combination skin, matte and powder foundations will be best since they will help absorb excess oil.

ELES Liquid Powder Mineral Foundation SPF 15

Tip 5: Apply foundation in thin layers and gradually build it up

One of the main reasons for cakey makeup is in the amount of product you are applying.

Remember less is always best, but if you want to hide those pesky pimples or blemishes make sure you blend a small amount of product at a time. You want to avoid looking overdone and remember you can always add more if need be.


Tip 6: Use a makeup blender or sponge to apply foundation

A slightly damp makeup blender can help soften your makeup, preventing cakiness from happening. Blend the foundation into your skin with the damp beauty blender, gently dabbing the product onto your skin. You can then use it to blend your concealer too focusing on blemishes and dark spots. This will help the product better settle into the skin preventing flakiness.

ELES Pro-Blender sponge

Tip 7: Use a finishing powder to set makeup

A finishing powder will provide a more-airbrushed finish to your makeup as well as help your foundation to stay put for longer wear without “caking”.

It will also absorb any unwanted or excess oil and can also work to blur the appearance of pores, uneven texture, and sometimes even discoloration. Try the new ELES HD Translucent Powder. Made from 100% mineral silica powder it mattifies the skin without “caking” and softens the appearance of imperfections.

Tip 8: Remove excess product

Excess makeup and oil, especially in a full-coverage foundation look, can help create a cakey appearance. So, when you notice your makeup looks a little cakey or your skin looks shiny, gently blot with a blotting sheet or sponge, this will remove excess oil and foundation.


Tip 9: Use a setting spray

Once your makeup is complete, finish with a nourishing face mist (or setting spray) as they will add additional hydration to the skin as well as locking in moisture which will help keep makeup in place. Pevonia’s new Hyaluronic Acid Hydra Mist is a favourite of mine. Not only does it deeply nourish the skin, rejuvenating, plumping and relieving dry flaky skin, it also helps maintain your makeup look throughout the day.

fuller lips - ELES lipliner - woman applying ELES lipliner on her lower lip

Want fuller looking lips? Here’s how to achieve them with lip liner

If your lips tend to be on the thinner side like mine, getting plumper, fuller lips will likely be something you’ve always wanted. And sure, when it comes to achieving that perfect pout, lip filler can be the answer, but for a natural, non-surgical option (because the idea of needles terrifies me) some strategic lip liner application can help accomplish the same result! And while lip liner, unlike filler, might only a temporary fix, it gives you complete control over what your lips look like every single day.

In fact, this once understated product is now a staple for makeup artists, influencers and makeup enthusiasts alike, and we are here to give you some lip liner tips and tricks so you too will fall in love with this trusty product and achieve the fuller lips look you so desire.

Firstly though, before we start applying our lip liner, we need to prep our skin. This is important as we don’t want any crepey lips in sight.


Tip 1 – exfoliate lips

Just as you exfoliate your face, you want to do so to your lips too! Lips need to be free of dry, flaky skin. Exfoliating also stimulates circulation in your lips which can make them look more voluminous! Just be sure to use a gentle exfoliator and gently remove any excess with a face cloth.

Pevonia Gentle Exfoliating Cleanser blog

Tip 2 – moisturise

Next you want to make sure your lips are well nourished. After applying your moisturiser all over your face, apply a really good lip cream like Phytomer Youth Contour Reviving Wrinkle Correction Cream – Eye and Lips, after all more often than not it is the lines around the lips which can actually be what’s making your lips look thin and aged. Top with a good lip balm and let it seep in for a few minutes.

Tip 3 – conceal

The last part of the prep involves your concealer! Take a cream or liquid concealer in a shade lighter than your natural lip colour and smooth all over the lips spreading it a little over your natural lip line. You want to blur the edges so that it’s harder to tell where your lip line is. Try ELES Dual Action Concealer. This anti-ageing gem is formulated with vitamin e and marine filling collagen micro-spheres which absorb natural moisture, plumping skin and smoothing the epidermal layer! Next lightly blot your lips to remove excess product.

ELES Dual Action Concealer

Tip 4 – application in 4 simple steps

Now it’s time for your lip liner! Lip liner not only give lips structure (and volume!) it can act as a primer to help bind lipstick to your lips if you choose to wear it after (I find my lip liner and a little gloss does the trick for me though!)

Step 1.

To make your lips look bigger, choose a lip liner in a natural skin tone.

  1. If you want to use a colourful lipstick, select a lip liner shade that goes well with your chosen lipstick.

Step 2.

Now take your lip liner and apply it just outside your natural lip line. This will perfectly model your lips and visibly correct any unevenness. Start by outlining your outer corners making your way to the middle (the cupid’s bow). Make sure you take into consideration where the middle of your lips and nose is and use this as your starting point.

Step 3.

Now use the side of your lip liner to fill in the rest of your lips. You’ll get much smoother results this way. For a smoother transition, put less pressure on the pencil as you would when you are doing the outer line.

Step 4.

Finally for that little extra cushioned effect apply a highlighter on your cupids bow. Try ELES Stick Illuminator.

ELES Stick Illuminator

Finish with a sweep of lipstick or a lip plumping gloss.

ELES - Pucker-Up Lip Gloss Love Bite

Voila! Follow all of these steps and achieve fuller lips instantly!

adult acne

How to get rid of acne: 5 steps to pimple free skin

You might well have suffered from acne when you were younger, or perhaps you were just prone to the occasional pimple, but why oh why years later are you still getting these darn spots you might be wondering?

Acne, or ‘adult acne’ as it’s more commonly known once you approach or 40’s or 50’s, is actually a very common skin condition that affects not only teenagers but men and woman of all ages! In fact, there is no age limit! Why?  Because acne, whether it presents as whiteheads, pimples, blackheads or cysts, occurs when your skin follicles become blocked with oil and dead skin cells. Something that is very easily done, but also something that can be prevented when you follow a few simple steps. So, if you are suddenly finding yourself with a face full of pimples, keep reading as we explain the best ways to get rid of them and how you can stay pimple free too!

  1. Watch what you eat

As good a staple as it can be, dairy in your daily diet can sadly lead to an increase in acne breakouts. Try cutting it out to see if it could be causing your breakouts to occur. Also cut down on the amount of sugar and caffeine you consume!

Instead indulge in foods such as almonds, blueberries, avocados and kidney beans as they are among a range of foods which may help to reduce and prevent inflammation.

  1. Stress less

Sounds easier said than done I know, we all have those days, weeks, months even where we are super stressed but said stress can lead to acne flare ups!

This is because stress-related hormone CRH can bind to receptors in the skin’s sebaceous glands, increasing oil production. Excess oil production can then cause pimples. So, if you keep breaking out and just can’t understand why, stress might be to blame, so try to relax!

Try listening to relaxation music or meditate. Also, something as simple as taking a relaxing bubble bath every evening can really help. Exercise is also imperative! While exercising will increase blood flow, helping nourish skin cells and keeping them vital, it has also been accountable for reducing stress-related acne.

  1. Keep your phone clean! And your pillowcase too!

Yup, a sudden breakout can be from something as simple as your phone or pillowcase (well anything that touches your face really that could be hosts for harmful bacteria!) And anytime you hold your phone to your face or lie on your pillowcase you are spreading the bacteria to your skin. So, if you haven’t done so for a while, try sanitizing your phone screen and wash that pillowcase of yours more often, it could make a big difference to your skin.

  1. Use mineral makeup

Makeup can be a real trigger for pesky pimples. Especially if it’s full of pore clogging ingredients and oils. If you have acne, you are likely going to want to try and conceal it without exacerbating the condition, this is where mineral makeup will become your best friend! Each product in the ELES Mineral Makeup range is free of skin irritants and pore clogging nasties and instead are rich in skin nourishing and nurturing ingredients that will not only allow skin to breathe freely but will help to improve its condition too!

ELES Liquid Powder Mineral Foundation SPF 15

Our favourite? The ELES best-selling Liquid Powder Mineral Foundation. But if you love powder, the Mineral Powder Foundation is pretty outstanding too, especially if your skin is a little on the sensitive side.

ELES - Mineral Powder Foundation

  1. Choose skincare wisely

You might well love your moisturiser but if it’s too rich for your skin it could well be doing more bad than good. Choosing skincare specifically designed to counteract acne is imperative. You want to make sure your products are formulated with acne-fighting ingredients including powerhouse salicylic acid and benzoyl peroxide. This is because salicylic acid dissolves the bonds that hold dull, dead skin cells on the surface of the skin so the skin will gently shed, revealing smoother, brighter skin underneath, while super ingredient Benzoyl peroxide is helpful for treating acne not only because it kills bacteria that contribute to acne, but because it helps prevent and clear out clogged pores too!

Try;

Medicalia Clarifying Cleanser

The key to fighting persistent breakouts is to find a high-impact cleansing product that will help to clear up your skin while thoroughly cleaning it.

Formulated with both lactic and salicylic acids to deeply penetrate pores, remove dead skin cells, and eliminate toxins, surface bacteria, and makeup, Medicalia’s Clarifying Cleanser is a must! It provides skin with a super gentle lather that won’t dry out the skin like some acne treatments do!

Beauty Collective - Medicalia - Clarifying Cleanser

Pevonia Soothing Propolis Concentrate

If you’re a sufferer of reactive, sensitive or acne prone skin a soothing serum could be your new go-to if it’s not already! Pevonia’s Soothing Propolis Concentrate is a beautiful rich gel-like serum with anti-inflammatory, antibacterial and antioxidant properties! It combines calming lavender, vetiver oil and a high concentration of healing propolis from the Jura Mountains of France to desensitize, decongest, heal, strengthen, and really enrich skin! Outstanding stuff!

Pevonia - Soothing Propolis Concentrate

Pevonia Problematic Skincare Cream 

You might be thinking that applying a moisturiser is counterintuitive if you have acne prone skin? After all you’d do everything in your power to keep oiliness away right? The thing is not all acne-prone skin is oily, in fact, dry skin, normal skin, sensitive skin, basically any skin can be prone to breakouts as well! Whatever your skin, moisturising is an essential step in every skincare routine, after all they protect the skin’s barrier function and can even help soothe and prevent acne if done correctly.

The experts at BC can’t get enough of Pevonia’s Problematic Skincare Cream rich in Glycolic Acid. It works amazingly on problematic skin reducing overall breakouts while leaving your complexion soft, supple and pores clog-free!

Beauty Collective - Pevonia Problematic Skin Care Cream

Phytomer Oligopur Blemish Target Gel

When a pimple rears its head, a potent spot correction treatment will encourage rapid healing by controlling bacteria, reducing inflammation, and diminishing the follicular accumulation of keratin. Try Phytomer’s’ Oligopur Blemish Target Gel, it’s a phenomenal spot treatment which targets blemishes with precision, rapidly improving the skin’s appearance and eliminating spots almost overnight! Simply apply a small amount of product to your pimple and let the powerful ingredients keep your skin follicles clean to achieve an even and bright complexion.

Beauty Collective - Phytomer Blemish Target Gel