Posts

Which order should you apply your skincare?

Which order should you apply your skincare?

With the ever-growing number of lotions and potions on the market from cleansers to toners, serums to oils, day to night creams and more, it’s no wonder there is confusion around which products are really necessary for our skin, let alone which order you should apply your skincare!

Here’s the thing, we all have unique skin needs, dependant on our skin type and concern, so it’s important to create our own skincare ‘cocktail’ based on these specific needs! But if we use the wrong products (not everyone for example can tolerate AHA’s), pair two products together that are formulated with ingredients that don’t ‘gel’, or do not wear our skincare in the correct order, we just won’t see the results we are hoping for, or worse could wind up with blotchy, irritated skin instead. Eek.

So to save time, stress and money! We have detailed below the exact order you should apply your skincare so you can get the most out of it! Along with what products and ingredients to use for your skin type and concern too!

Cleanser

Toner

Serum

Eye Cream

Treatment (eg. Spot)

Moisturiser

Sunscreen (day) Face Oil (night)

Step 1: CLEANSER

Cleansing daily is essential for skin health and the first step to layering skincare like a pro for optimum results. And despite conflicting views cleansing twice daily is imperative.

Firstly, you need to cleanse at night to remove the days dirt, makeup and impurities. Then again in the morning to remove any excess oil and dead cells that are likely to have accumulated on your skin overnight. Without cleansing, your skin will be more prone to breakouts, dehydration, and premature aging. And remember you need a clean, oil and grime free face for all your skincare ingredients to properly absorb into your skin!

At night opt for a cleansing oil that literally dissolves makeup (including waterproof!) without stripping your skin then follow with a gentle, creamy cleaner (which you should use in the morning too). For more information on cleansing and how it will improve your skin tenfold click here.

Try;

ELES Transformation Cleansing Oil – ideal for all skin types it will literally melt away makeup and impurities while maintaining a balanced, hydrated and smoothed complexion.

ELES Transformation Cleansing Oil

Phytomer Perfect Visage Gentle Cleansing Milk – If you love milky cleansers this is your one! Formulated for all skin types even those with super sensitive skin, it gently removes makeup and residue without disturbing the skin’s protective barrier.

Phytomer Perfect Visage Gentle Cleansing Milk

Phytomer Oligopur Purifying Cleansing Gel – the perfect option for oily skin types this lightly foaming, velvety soft gel cleanser effectively eliminates impurities and excess sebum thoroughly cleansing and purifying the skin.

Beauty Collective - Phytomer - Oligopur Purifying Cleansing Gel 150ml

Pevonia CleanRefresh Foaming Oil Cleanser – my everyday go to, this lightly foaming luxurious cleanser is suitable for all skin types, but especially recommended for dry skin! It’s lipid rich, alcohol-free and soap-free and feels a-mazing on the skin. Skin is actually clean, hydrated, softer and smoother after every use!

Beauty Collective - Pevonia - CleanRefresh™ Foaming Oil Cleanser


Step 2: TONER (or lotion)

Ah, the step that everyone skips, but a vital step in optimising the effect of your skincare! Essentially toners help to remove any excess dirt and traces of oil, balance the pH of your skin and prime your skin for ingredients that follow to be better absorbed!

Try;

Phytomer Rosee Visage Toning Cleansing Lotion – Perfect for all skin types this little gem ensures any left over signs of residual makeup or oil is completely removed.

Beauty Collective - Phytomer - Rosee Visage Toning Cleansing Lotion

Phytomer Oligomarine Flawless Skin Tonic – perfect toner for oily, blemish-prone skin. 
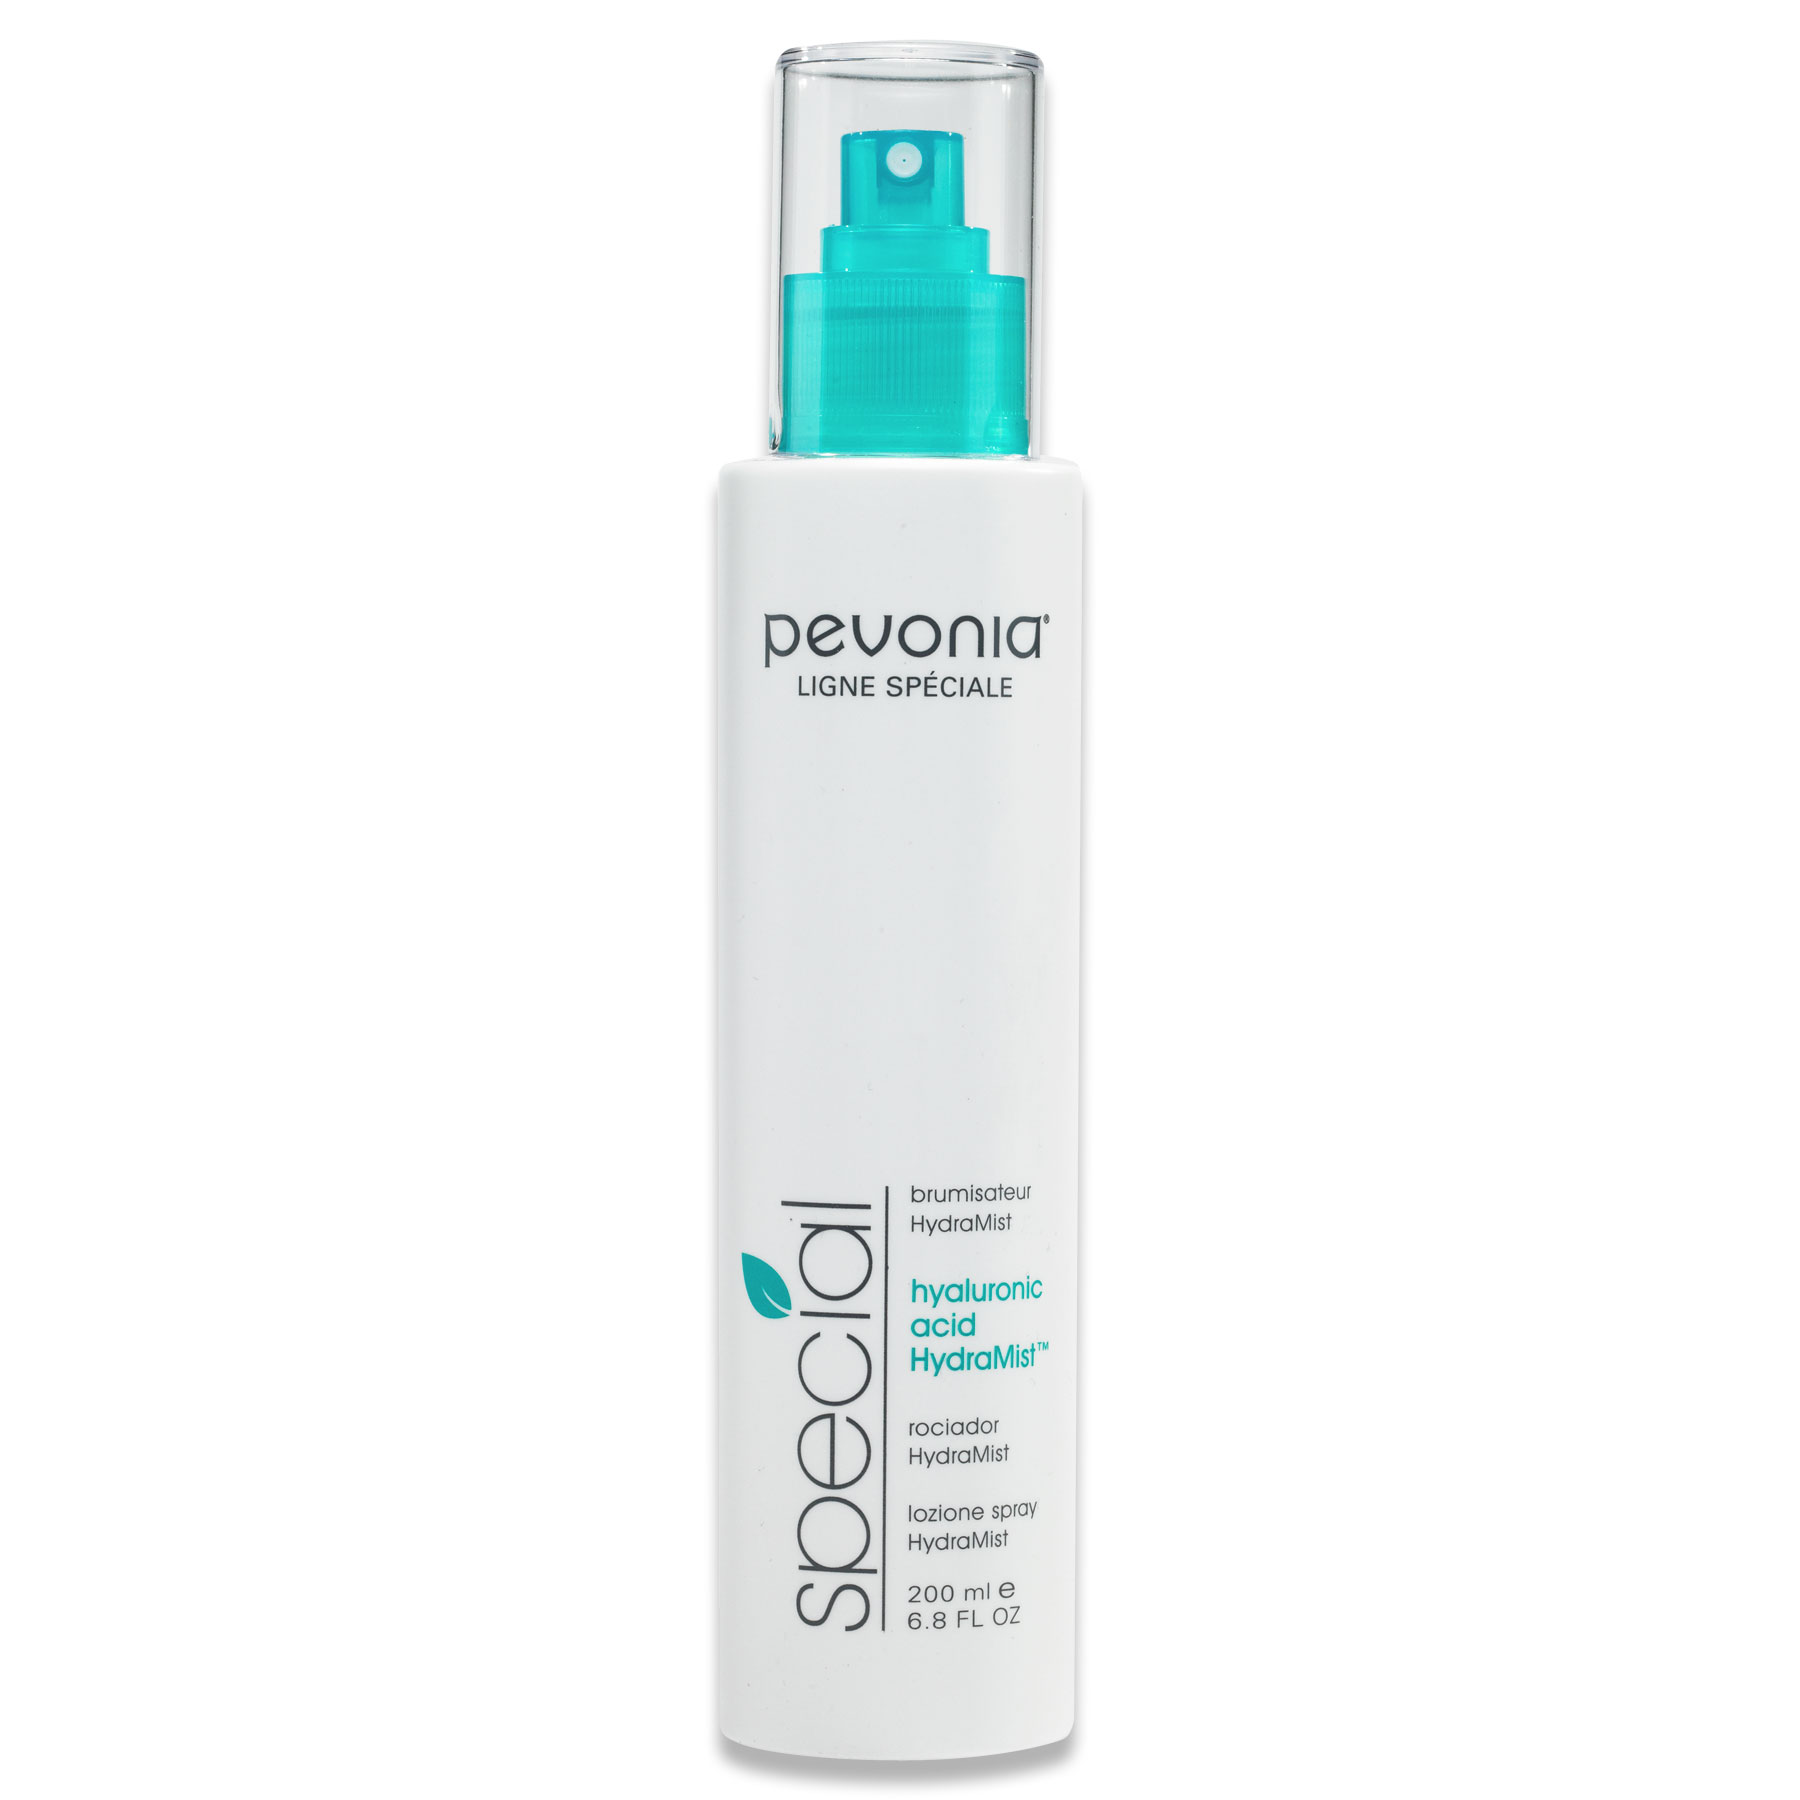
Pevonia Hydrating TonerFormulated with Hyaluronic Acid, Licorice, and Vitamin E, it works to hydrate, revive and fully refresh the skin. Great for anyone with worried about ageing, dehydration or devitalised skin.

Medicalia Gentle Toner – wonderful for those prone to rosacea and sensitive skin.


Step 3: SERUMS

You might be wondering if you really need a serum in your skincare routine, but I’m here to tell you why you definitely do!

Serums are the heavy lifters when it comes to your skincare routine, they are essentially shots of extremely concentrated nutrients, hydrators and antioxidants that will really amp  up your skin’s health as soon as you apply it. Serums actually tend to perform above and beyond many regular skincare products because they are formulated with a higher concentration of targeted active ingredients and have the ability to penetrate deeper into the dermis. So if you want your skin to live its best life don’t skip on the serum! To learn more about why you need a serum and the best anti-ageing serums for every skin type, click here.

Try;

Phytomer Hydrasea Ultra-Moisturising Polarized Water Serum  – the ultimate thirst quencher for dehydrated and devitalised skin.

Phytomer - Hydrasea Ultra-Moisturizing Polarized Water Serum 30ml

Vie Collection Vita C Concentrated Solution – the best for serious skin brightening. Vitamin C promotes a healthy, radiant glow.

Beauty Collective Vie Collection - Vita C Concentrated Solution

Phytomer Acnipur Blemish Solution Fluid – to diminish the appearance of blemishes and prevent future breakouts.

Acnipur Blemish Solution Fluid

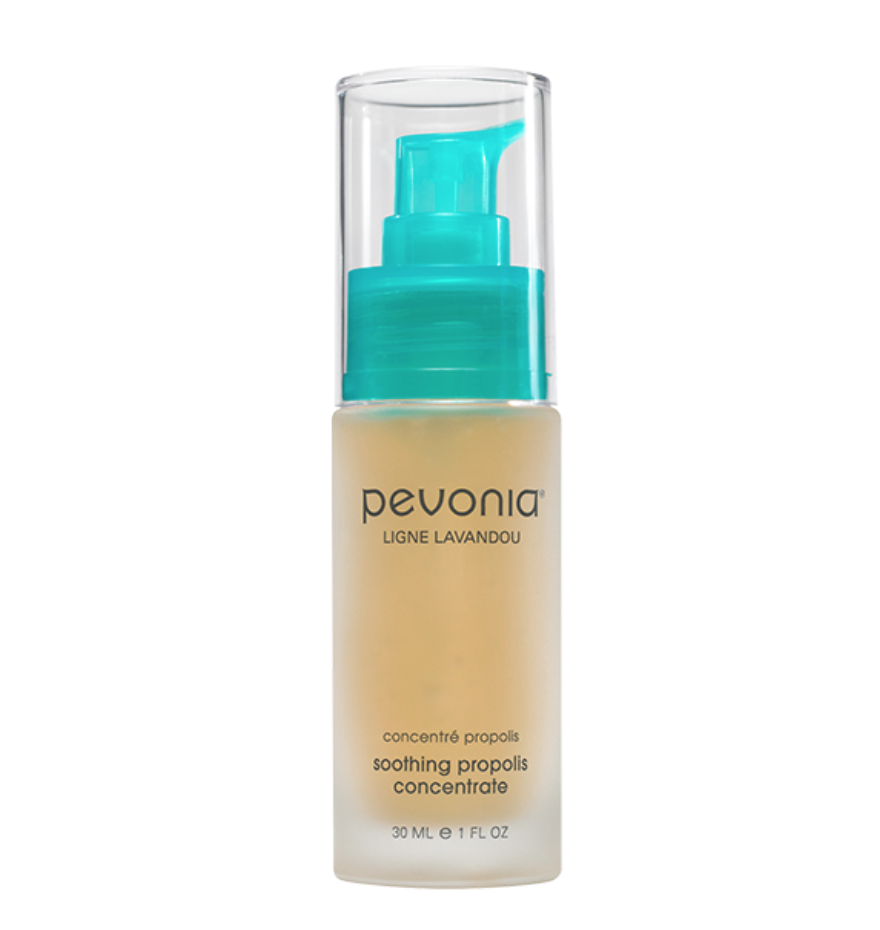
Pevonia Soothing Propolis Concentrate – For seriously sensitive skin that needs calming, soothing and strengthening.

Pevonia - Soothing Propolis Concentrate


Step 4: EYE CARE

Unfortunately, the delicate skin around our eyes is one of the first areas to show signs of ageing, so this is not a step in your skincare routine that you should ever skip! In fact it’s essential we our eye area the same level of TLC as the rest of our face!

This step needs to come before your moisturiser because thinner products can’t penetrate thicker products and eye care products tend to be lighter and thinner than moisturisers to compensate for the fragile eye area.

Try;

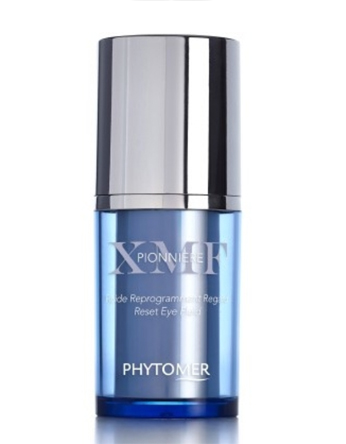
Phytomer Pionniere XMF Reset Eye Fluid – anti-ageing wonder cream, perfect for night-time.

9 Phytomer Reset Eye Fluid

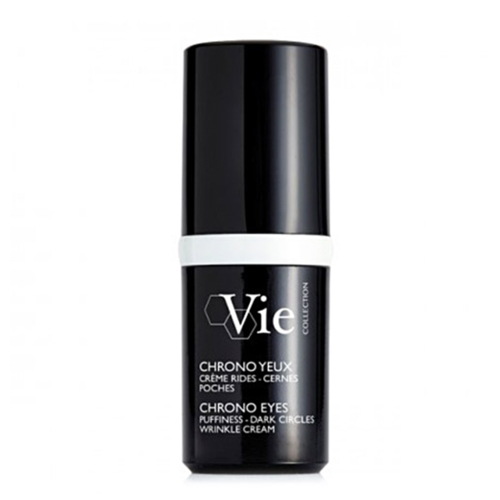
Vie Collection Chrono Eyes Puffiness – Dark Circles Wrinkle Cream – the best to combat eye ageing, dark circles and under eye puffiness.

Vie Collection - Vie Collection - Wrinkle Dimension Hyaluronic Acid Concentrate 15ml

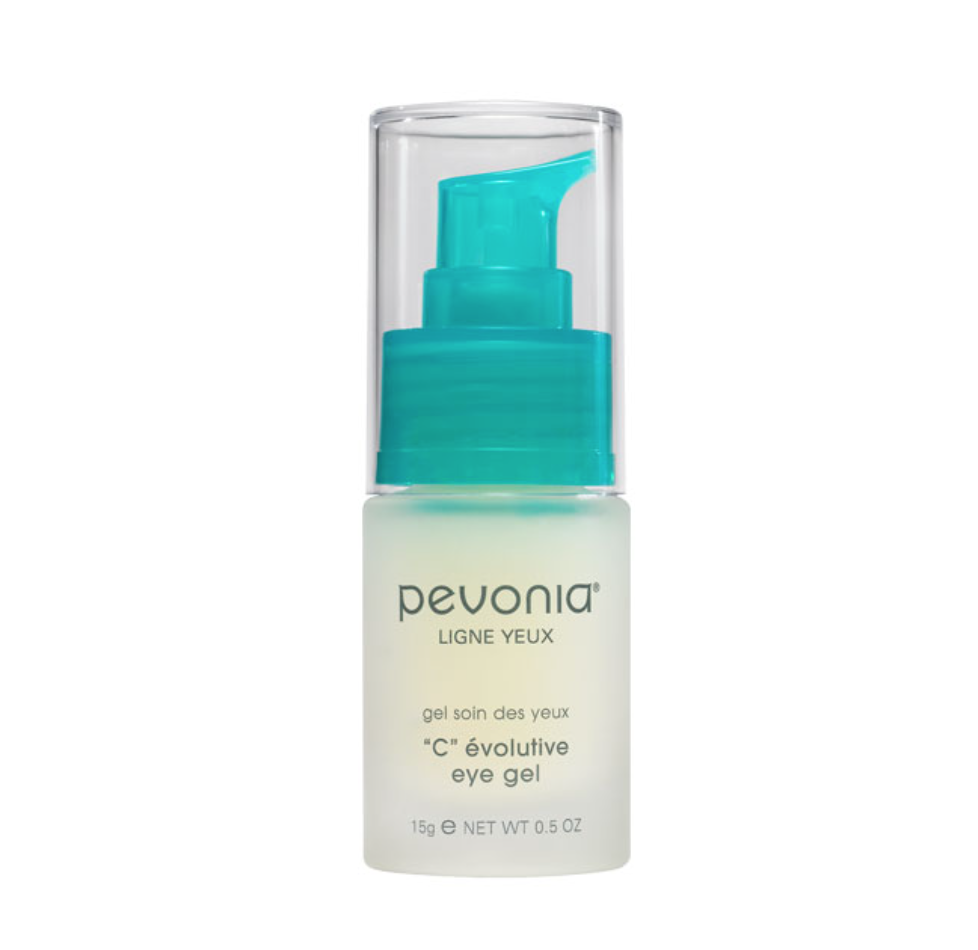
Pevonia “C” Evolutive Eye Gel – formulated with anti-ageing dynamo Vitamin C and skin saviours’ hyaluronic acid and Ginkgo biloba, this gel is perfect is cooling and soothing congested and puffy peepers.

Step 5: MOISTURISER

A moisturiser not only infuses your skin with hydration but also helps trap in all of the products underneath it to make the ingredients even more effective.

In the morning opt for a lighter, gentle moisturiser that will nourish and hydrate skin but not feel heavy or greasy (after all who wants that!) Just make sure you let your moisturiser of choice sink in before applying makeup as you don’t want your makeup to slide off within an hour of application!

Try;

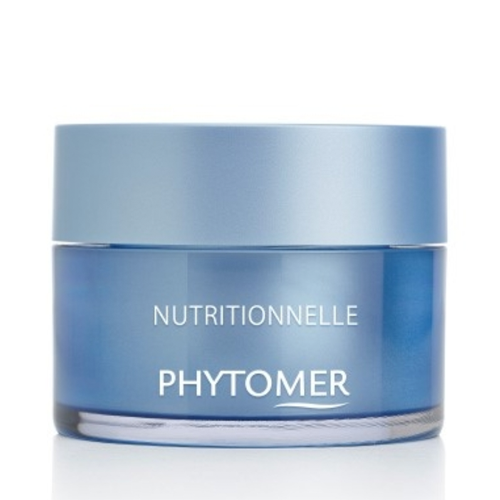
Phytomer Nutritionnelle Dry Skin Rescue Cream – this is a salvation for even the driest skin, bringing comfort, hydration and protection.

Phytomer - Nutritionelle Dry Skin Rescue Cream

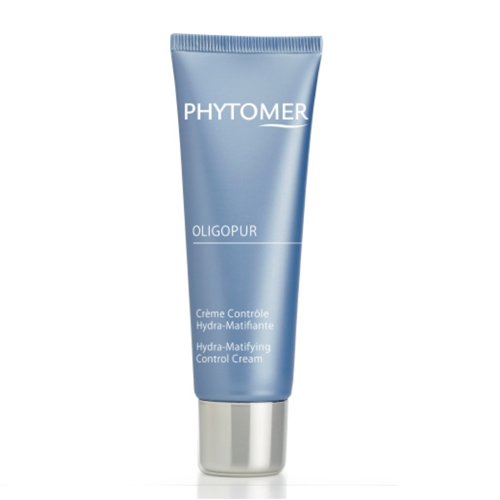
Phytomer Oligopur Hydra Matifying Control Cream – ideal for oily, combination or acne-prone skin, this mattifying cream restores clear and perfectly moisturised skin.

Phytomer - Oligopur Hydra-Matifying Control Cream

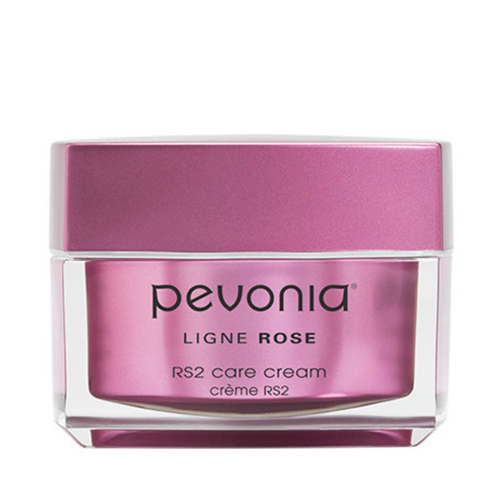
Pevonia RS2 Care Cream – perfectly soothing, calming and nourishing, this global best-selling cream for sensitive, rosacea and reactive skin types will render skin visibly calmed, soothed, and completely decongested.

Beauty Collective - Pevonia RS2 Care Cream

At night skin goes into repair and regeneration mode so your moisturiser should be packed with skin ingredients to benefit your skincare concerns like hyaluronic acid, lipids, proteins and retinol.

Try;

Phytomer Night Recharge Youth Enhancing Cream – hydrating, nurturing and restorative, this anti-ageing night cream for all skin types is outstanding!

Phytomer - Night Recharge Youth Enhancing Cream

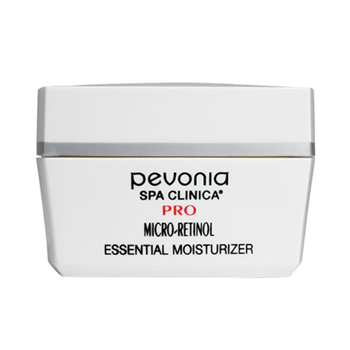
Pevonia Micro-Retinol Essential Moisturiser – while you should introduce retinol slowly, if you are worried about ageing, this is the ingredient your skin needs. This moisturiser will deeply hydrate, smooth, brighten and firm ageing skin. It’s idea for those with advanced signs of aging and sun damage exhibited by wrinkles, loose and sagging skin and uneven skin tone or dark spots. Really, it’s great for anyone who really want smoother, firmer skin and are not sensitive or acne-prone.

BeautyCollective - Pevonia - Micro-Retinol Moisturiser


Step 6: SUNSCREEN/FACE OIL

By day go nowhere without applying your sunscreen, it’s literally your barrier of protection against free-radical damage, the no.1 cause of premature skin ageing!

Try;

Medicalia Sunscreen SPF 40 with Blue Light Shield – perfect for all skin types, it’s light-textured, non-greasy, tinted and ‘ocean/reef safe’ and it delivers powerful sun and blue light protection whilst also combating skin-aging free radicals from UV and infrared radiation!

At night you should always use a face oil – the very last step to your skincare routine. This is because the oil takes a while to penetrate and treat the skin, so applying it at night gives it time to do its job. Plus you wouldn’t want a face full of oil in the morning just when you want to apply your makeup!

Try;

Phytomer Rosee Soin Radiance Replenishing Oil – perfect for all skin types this face oil literally does as the bottle says. Enjoy softer, radiant and revitalised skin.

Phytomer Rosee Soin

Pevonia Vitaminic Concentrate – Fast-absorbing, this soothing, silky anti-oxidant oil radically combats premature ageing, dehydration, and excessive dryness by locking in hydration and delivering moisture that stays! So you’ll wake up to smooth, supple, and seriously glowy skin every morning.

Beauty Collective - Pevonia Vitaminic Concentrate


While these 6 steps include the basics for your daily skincare routine, you must not forget your exfoliator and face mask, to essentials steps to incorporate into your routine once or twice weekly as well!

To find out more about the benefits of exfoliation and the best exfoliant for your skin click here. And for when and why you should use a face mask click here.

best eyeshadow tips for ageing eyes

The best eyeshadow tips for ageing eyes

If you’re worried about ageing eyes you might well have stopped wearing eyeshadow in fear it will only exacerbate your fine lines and wrinkles. The thing is eyeshadow and all eye makeup for that matter serves a very important purpose no matter what your age! It can add depth and dimension to your eyes making them appear larger, it can complement your eye colour or simply draw attention to the eyes! And most importantly it will bring back life to your ageing eye area! Genius! So instead of forgoing eyeshadow, you just need to alter how, and which type you use! To get the lowdown, we talked to the experts at BC! Keep scrolling as we countdown 10 of the best eyeshadow tips for mature women.


  1. Start with a good eye cream

It’s likely you’re doing this already, but if not, you’ll want (and need) the delicate skin around your eyes to be properly nourished! And we are talking both the eyelid and the undereye area! For a great eye cream for ageing eyes try Pevonia’s Age Correction Eye Contour. It’s formulated with Marine Collagen, Marine Elastin and Green Team which not only provide eyes with powerful anti-ageing benefits, it smooths, first and deeply nourishing the fragile eye zone too.

  1. Use a primer

As our skin ages, under-eye wrinkles and crows feet become more apparent – they are a fact of life for us all! A good primer however will help reduce their appearance while increasing the longevity of your eyeshadow! It’ll also prep your eyelids preventing eye makeup from creasing, feathering, smudging or smearing!

ELES Pore Perfecting Face Primer


  1. Apply a good under-eye concealer

This will make eyes appear bigger and brighter in prep for your eyeshadow. Concealer isn’t just for brightening up your under eyes though. Prepping the eye with a concealer that’s about two shades lighter than your actual shade will make your eyeshadow more pigmented and in turn pop a lot more.

You’ll need to use one with has a hydrating formula as this will add additional nourishment to the eye area as well as prevent the concealer from settling into fine lines and wrinkles.

Try ELES Cosmetics Dual Action Concealer.

ELES Dual Action Concealer

  1. Use a waterproof or long-lasting gel eyeliner

You don’t want to get to lunch time and find yourself with panda eyes! No sireee. By using a waterproof or long-lasting gel eyeliner, it’ll stay in place all day plus give eyes much needed depth and definition. Try ELES Cosmetics Superwear Gel Liner.

Beauty Collective - ELES Cosmetics - Superwear Gel Liner

  1. Line your eyes with a waterline liner

Eyes tend to look duller and tired with age. A waterline liner will open up your eyes instantly creating the illusion of bigger, brighter, more youthful looking eyes.

Simply apply your normal eyeliner to your top lash line then apply your waterline liner to the inner rim of your lower lash line. (We recommend ELES Cosmetics Waterline Liner). By doing so it’ll immediately open up your eyes as well as make the whites of your eyes look whiter. It works a treat I can vouch for that!

ELES Waterliner

  1. Opt for matte eyeshadow and go mineral

Eye shadow comes in many different colours and textures but for ageing eyes matte eyeshadows are the way to go.  Those with mature eyes might find matte eyeshadow more longwearing and less likely to fade on their skin. Your best bet is to stock up on mineral matte eyeshadows that are pigmented without emphasizing fine lines but also packed with antioxidant vitamins A, C & E to pamper lids with crease-proof perfection. Try ELES Cosmetics Mineral Matte Shadows. Better still try the ELES Build your own Shadow Palette, you get to select which ever 3 shades of mineral shadow shades you want! A trio of colours on your eyes is always better than one, they will make your eyes stand out more and can also increase their size and let’s face it bigger eyes are more youthful!

Build your own Shadow Palette

  1. Choose lighter eyeshadow shades

Opt for a lighter, natural eyeshadow shades rather than dark, smoky shades on your eyelids and around the eyes. Using neutral colours like shades of light browns, light pinks, beiges, or greys are best. Also add a light colour eyeshadow shade to the inner corner, lower lash line in outer corner, and the inner lid.

  1. Apply eye shadow correctly

Don’t take your base eyeshadow shade and simply plonk it on the centre of your lid. Using a small eyeshadow brush, start from the outer corner of the eyes and work inwards, so that the colour gets gradually lighter. This will help give your eyes a bigger, wide-eyed look.

  1. Finish with mascara

No matter your age, mascara will always be a go-to product. A good mascara (we are talking smudge-proof, waterproof, and long-lasting) adds volume and strengthens brittle lashes to keep them looking full and luscious. Fuller-looking lashes can also help to give a more youthful appearance to the eye area. However, it’s best not to wear mascara on the lower lashes as this can make your eyes look droopy as well as draw attention to dark circles and under eye wrinkles.

Beauty Collective - ELES - Lush Mascara

  1. Use a setting spray or powder

Finally, to prevent eyeshadow fallout (after all we want it to stay in place all day or night long!) use a setting spray or if setting sprays aren’t your thing, opt for a setting powder instead! Both work to lock your makeup in place. Try Pevonia Hyaluronic Acid Hydra Mist.

Beauty Collective - Pevonia - Hyaluronic Acid HydraMist™

CONCEAL

Blemished skin? How to best conceal it

Whether you are dealing with all out acne, have a few blemishes that won’t budge or you’re prone to pesky pimples, you might be wondering what the best way is to conceal your imperfections. The thing is certain makeup products can exacerbate your already irritated skin, so you need to be careful how and what you put on your face. From the best skin preparation products to breathable foundations, below are our top tips for concealing skin woes.

1. Prep your skin

Before applying any makeup, its essential skin is clean and well moisturised, even oily, acne prone skin needs sufficient moisture! Well-nourished skin will prevent makeup from looking cakey, as well as help skin to look less dull!

Look for foaming and gel cleansers, and moisturisers specifically targeted to acne and blemished prone skin.

2. Use a primer

Using a primer will not only create an even base for your makeup but it’s also an amazing must-have when it comes to prolonging the wear of your foundation, and let’s face it acne-prone skin tends to be on the oily side and the last thing you’ll want is for your foundation to slide right off your face by lunchtime! No sireee. What’s more primers also add a ‘blurring effect’ to your skin to give the illusion of a smoother complexion. And they create a barrier between your skin and your makeup preventing any further irritation too.

Just be sure to look for primers that will hydrate, soothe or replenish your skin. Choosing a mattifying primer will also help to combat any excess oil and shine you might be experiencing, as well as reduce the appearance of pore size. Try ELES’s Pore Perfecting Face Primer. It’s a light-textured oil free face primer which combats shine, absorbs excess oil, reduces the appearance of large open pores, promotes antiseptic properties which is great for blemish and breakout prone skin, and it really does keep your foundation looking flawless all day long!

ELES Pore Perfecting Face Primer

3. Choose your makeup wisely

A concealer can offer a multitude of benefits while hiding a multitude of sins! But not every concealer can tackle every issue in one application. In general concealers are formulated to target something specific so it’s best to decipher what you want from your concealer and then select which is best for you.

If it’s pimples you are trying to conceal, oil-free and non-comedogenic cover ups are best and many now have skin enhancing benefits to soothe inflammation too. Avoid mineral oil, lanolin and talc-based products which tend to block the pores and exacerbate acne. Instead opt for a mineral concealer like ELES Cosmetics Mineral Phototouch Concealer. Light-reflective minerals and line-filling micro-spheres camouflage flaws. Dark circles, blemishes and fine lines vanish!

And when it comes to foundation, you’ll want it to allow your skin to breath freely to prevent blocked pores and irritated skin conditions so go for mineral.

For redness, instead of using a concealer, opt for a colour corrector which will help visually correct redness and even out skin tone. Using one with UV protection will also help shield your sensitive skin from exposure that can aggravate rosacea. We are obsessed with the ELES CC Cream 20, a lightweight oil-free colour corrective cream with board spectrum protection and really does multi-task like no other!

ELES - CC Cream 20

4. Be careful with how you apply your product

Always apply product with clean fingers (yes I know it sounds obvious!) or apply with a sponge, beauty blender or concealer/foundation brush to avoid contamination and ingredient breakdown.

ELES Pro-Blender sponge


5. Select the right shade for your skin tone

Make sure that you purchase a shade that’s an exact match for your skin tone. This is very important because you want this area to appear even with the rest of your face.

6. Always set your makeup

A mineral powder is the best choice to set your makeup as its ingredients are usually non-irritating. Apply with a brush rather than a sponge which can harbour bacteria. We couldn’t recommend the ELES Mineral Powder Foundation more! Highly compatible with common skin sensitivities, the lightweight powder easily adjusts from sheer to richer, more opaque coverage while effectively camouflaging imperfections.

ELES - Mineral Powder Foundation

Finish with a spritz of facial mist like Pevonia’s Hyaluronic Acid HydraMist. This outstanding multi-tasker not only rejuvenates skin with a burst of hydration, plumping fine lines and wrinkles, but it also relieves dry, flaky, itchy and sensitive prone skin while keeping makeup set in place all day long! Genius.

Beauty Collective - Pevonia - Hyaluronic Acid HydraMist™

Beauty Collective - blush

A complete guide on where and how to apply blush correctly

Ah blush! The one product in your beauty arsenal that can enhance the features on your face while providing skin with a natural warm, rosy glow.

I’m personally a huge lover of blush and wear mine daily all year round. It’s the perfect go-to when you’re after a minimal makeup look that’s quick and easy to apply. It also works in perfect unison with bronzer when you want to contour your face or simply create a healthy sun kissed glow. The problem is with the many conflicting tutorials out there, where, and how do you actually apply it? Well, we turned to the experts at Beauty Collective for the low-down. Keep reading for our complete guide on all things blush!

Why you should wear blush

When used correctly, blush can totally transform pale, dull or washed-out skin. It infuses warmth into any complexion by adding a touch of natural, flushed-cheek colour, so your face looks instantly brighter, healthier (and perkier!)

Blush is also a great multitasker! This complexion booster not only adds colour to your cheeks but can also double as an eyeshadow (a great way to tie your makeup look together) and if you opt for a brown-toned blusher you can use it to contour your face. That way you get a blush and contour effect in one – a great time-saver!

What type of blush should you use?

Today’s blushes come in many textures — cream, powder, liquid. As a general rule of thumb, cream is great for dry skin, while powder is the best option for oily skin types, but it’s also a personal preference. Natural makeup works well with creams, but with powder you can be more direct on where you place it, and it tends to last longer too.

However, for the best of both worlds we highly recommend baked blush – a pigment packed powder blush! Powders are usually made from lots of pressed powders, but baked powders are actually creams that have been baked slowly in a specialist oven until they are dry. This is what gives baked makeup some of its unique attributes; it has an ultra-soft, velvety texture and provides a sheer wash of soft colour for a naturally flushed complexion.

How do you choose the right blush shade?

Choosing the right shade can be a little tricky. Firstly, you need to understand your skin’s undertone (whether it’s warm, cool or neutral) then once you know this, choose a shade within your undertone, you can go as light, natural, bright or deep as you want.

In general, if you have fair skin opt for light, dusty pinks and sheer peaches. If you want to make a bold statement, you can even give bright pink a go!

For medium skin bright pink looks great on a cool undertone while coral and orange bring out warm tones.

And if your skin is more on the olive side, anything with a golden undertone will bring out the rich warm tones in your skin. If you’re more of a cool olive, try light plums and cool pinks.

How to apply blush

How you apply your blush is just as important as the type and shade you choose. Firstly, you have to select the right tool for application! Opt for a sponge when using creams, a sponge or fingers work fine with liquids and use a brush for powders.

If powder blush is for you, you need to choose your brush wisely too! A big soft brush can be very ineffective. Choosing a specific powder blush brush is your best bet as it tends to be on the firmer side so that when you apply the blush to your skin you can control the powder and ensure in spreads correctly and in the right place.

Where to apply blush

The ever-popular question of where to apply your blush can have a different answer depending on what you read, or what the trends are, however here at BC we use the general rule of thumb as below;

For a natural look

Follow the natural structure of your cheekbones. It’s best to smile and then apply blush to the apples of your cheek and blend towards your temples/ears. This will lift your cheekbones and add a little extra colour to your face without looking over the top.

For an instant facelift (and to make your face appear more oval-shaped)

Apply blush to the back of your cheekbones into your temples

For a sun kissed glow

Apply blush underneath your eyes, across the bridge of the nose, and back toward the ear.

To shorten your face and create balance

Apply blush to the centre of the apples and out, just toward your eyes, avoiding blending too far out toward the temples.

Just remember blending is key when it comes to blush application!

How can you make your blush last all day?

Applying a primer to your skin before makeup application will help keep makeup in place.

Also, once you’ve completed your makeup routine, use a facial mist or setting spray such as Pevonia’s Hyaluronic Acid Hydra Mist.

Now go yonder and blush away! And experience how incredibly energizing it can be for your complexion!