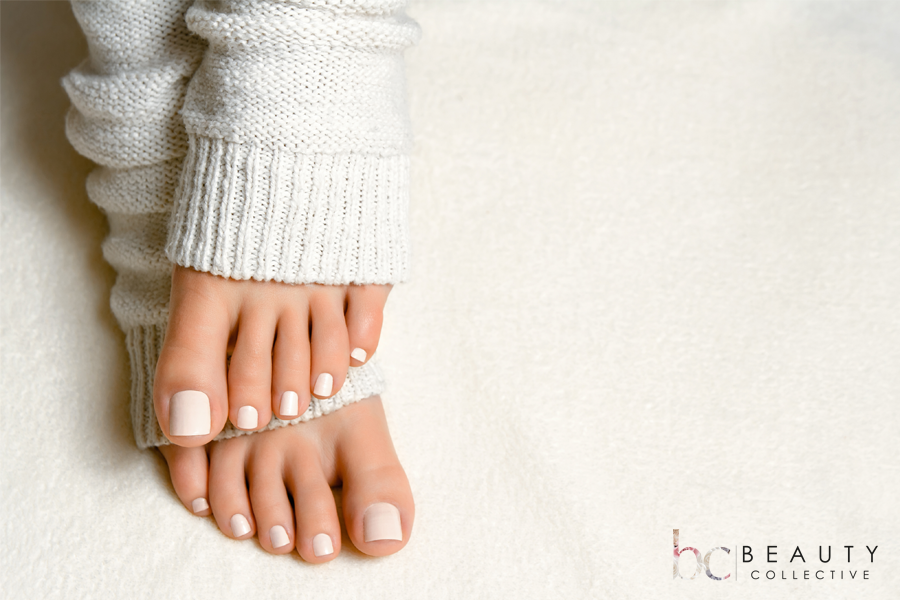
Give yourself a spa pedicure in 8 simple steps
Since we are now a few weeks into quarantine and confined to the four walls of our home, we figured it’s the perfect time to practice a few at-home beauty treatments. While we’ve already covered how to create a salon-style facial at home, we have yet to talk DIY spa pedicure!
Of course in a perfect world (or should I just say the world in which we were once accustomed to!) we’d be treating ourselves to a pedicure at our local spa, salon or nail bar, but since that isn’t an option for the foreseeable future, we thought we’d give you a step by step on how to give yourself a luxurious spa pedicure at home….and we promise it’s pretty easy to do!
Step 1 – Get your tools at the ready
The trick to making a DIY pedicure feel like a spa experience is setting the mood. You want to create a relaxing environment – we are talking soothing music, burning essential oils and lighting that favourite candle which has been collecting dust for months – then ensure you have a stable surface and have at the ready the following tools;
Nail polish remover
Cotton pads
Foot or bath soak
Scrub
Nail clippers
Foot file
Nail file/buffer
Moisturiser
Paper towel
Toe separators
Quick-drying top coat
Nail polish
Towel
Cotton buds
Step 2 – Prep your tooties
Before starting your pedi you want to make sure any residual polish has been totally removed from your toes so take a cotton pad, (it’s best not to use a cotton ball as they can leave lingering cotton ‘hairs’ attached to your toes!) soak it in nail polish remover and get removing by holding the pad firmly on each toe for a few seconds then wiping away.
Step 3 – Soak your feet….and relax your senses!
The next step is one of my favourites – the foot soak. This will soften your feet while creating a sense of relaxation. Start by pouring a little relaxing foot or bath soak into warm water (this can be in a bath, bowl or handy foot spa!) and pop your feet in. Phytomer’s Oligomer Well Being Sensation Essential Minerals Relaxing Bath is heavenly! It’s an ultra-relaxing lightly foaming, fragranced bath enriched with Oligomer – a sodium-reduced seawater concentrate – to deliver remineralizing properties to strengthen the skin and recharge it with energy!
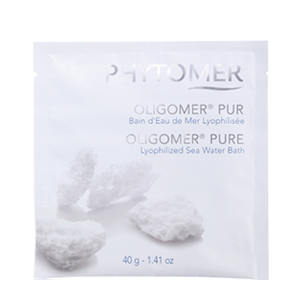
I am also in love with the Phytomer Oligomer Pure Lyophilized Sea Water Bath, another bath soak that contains trace elements and unique minerals from seawater to balance and remineralize skin while creating an unparalleled tension-relief experience.
Allow feet to soak for a minimum of 5 minutes but not too long as you don’t want them to resurface as two large wrinkled prunes! Then towel dry.
Step 4 – Scrub your feet, not forgetting your legs
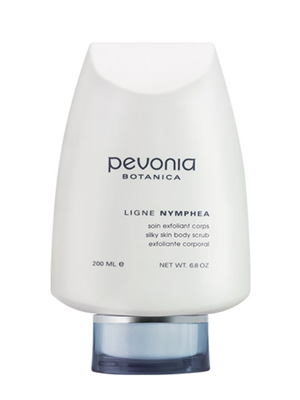
For the ultimate spa pedicure experience give yourself a foot and leg scrub by literally massaging a silky exfoliator into your skin for a few minutes. This will not only smooth skin but alleviate any additional tension too. I love using the Pevonia Silky Skin Body Scrub for this step, it gently polishes away dead skin cells and superficial impurities smoothing and softening the skin.
Step 5 – Remove dead skin
Now that your feet are soothed and soft it’s time to buff away the build-up of any dead skin on the soles of your feet. You can do this by gently scrubbing with a pumice stone or foot file. Be sure to pay particular attention to the bottoms and sides of your heels where you get most build up, as well as the balls of your feet and the area around your toes. The object is to smooth any rough parts not remove layers of skin though!
Step 6 – Trim, file and shape nails
For this step you’ll need good quality nail clippers followed by a file for shaping and smoothing.
Begin by trimming any longer nails. To trim correctly, cut your toenails straight across to just above the skin. You can then smooth out the raw edge (and corners depending on the nail shape you are going for) with your nail file working in one direction until they are even.
Step 7 – Moisturise and massage
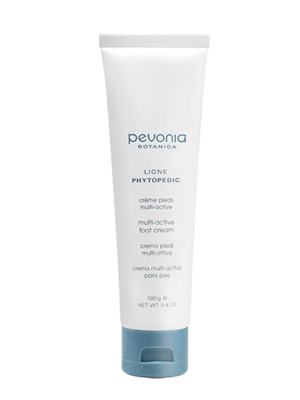
To complete this part of your foot treatment slather on a coat of rich moisturiser and give yourself a mini massage working from toes all the way up your calves. This will help nourish and rehydrate skin. For this step I highly recommend the Pevonia Multi-Active Foot Cream, it provides feet with outstanding repair by soothing, smoothing, restoring and replenishing them.
Step 8 – Apply your nail polish
Before you start painting your nails ensure they are dry and any excess cream has been removed. If you have any toe separators now is the time to grab them, if not you can simply roll or twist a piece of paper towel and weave it through your toes – this will prevent the polish from smudging!
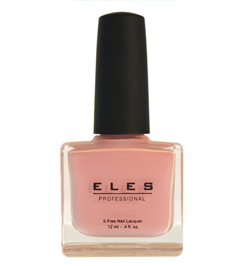
Start by applying a base coat first if you wish, otherwise your toes are ready for some colour! I can’t recommend enough using a healthy nail polish free of toxic ingredients commonly found in many nail polishes! I love the ELES nail polishes. They are formulated with the best of quality Australia ingredients, do not contain DBP, Toluene, Formaldehyde, Resin or Camphor and the professional patented formula holds it colour and shine for days. Although there isn’t a huge range, they do offer a few diverse shades and I’ve never had an issues with my toe nails weeks after application, as I’ve had in the past with other nail polishes which can leave your nails yellow and weak!
Next make sure you shake or roll the polish bottle so you get the right consistency, then paint a thin layer of polish (followed by a second coat) with even, smooth strokes. Ensure you wait a few minutes between laying coats though.
Complete your DIY pedicure with a top coat, preferably one that is quick-drying. This will seal in the colour and prolong the wear of your polish. If you have any ‘rogue’ polish marks (let’s face it before now we weren’t exactly pedi pros!) you can remove them with a little bit of your polish remover and the tip of a cotton bud.
While the results might not compare to that of your trustee nail technician, your nails and feet will look and feel fab….and will be enough to tie you over until your next in-spa pedi.

