How to Apply Highlighter like a Pro
Whether you want dewy skin or a super-shimmery glow, here is everything you need to know about applying your highlighter like a professional.
Firstly though, it’s important to remember; less is more. It only takes one swipe too many to go from a my-skin-but-better kind of glow to being schnitzelled in glitter!
Follow these five steps to avoid the latter:
1 – Prep Your Skin
The reason we use highlighting is to make our skin look healthy and glowy – as if you just came out of a yoga class and downed a litre or two of water. So the most important step in achieving healthy, hydrated skin is with great skin prep. Don’t panic, you don’t need to do a 10-Step Korean Skin Routine. Keep it simple; cleanse your face, exfoliate with a gentle scrub, we love the Pevonia Gentle Exfoliating Cleanser and then apply a hydrating moisturiser and sunscreen, skip the moisturiser if your sunscreen is a multi-tasking one such as the ELES Luminous Defence Brightening Day Protection 50. If you like to use a makeup primer pat on a thin layer of that too.
2 – Apply Your Foundation
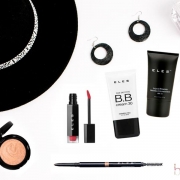
Foundation is not a must and you may prefer to skip this step or apply a BB Cream, CC Cream, Tinted Moisturiser or even just a Concealer on the flaws. Whatever your preference the goal is to even the skin tone out to your desired level. If its evening and you want to amp up the glow then mix a few drops of a liquid highlighter into your base before applying it to your skin. ELES Liquid Illuminator is ideal for this. Finish by bouncing a damp Pro-Blender Sponge all over your skin, it’ll make your skin look fresh and dewy.
3 – Choose Your Highlighter Formula
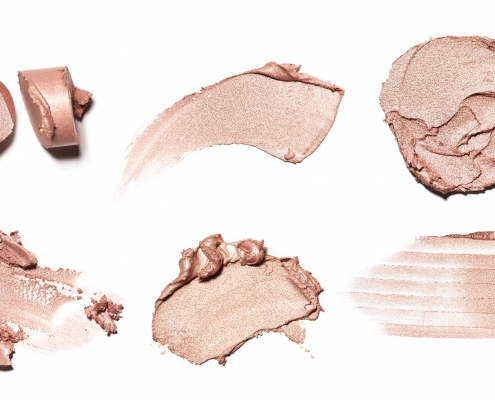
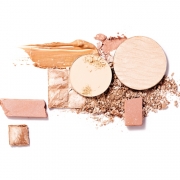
Now that your base is set, you’re ready for the fun part…choosing your highlighter! Finding the right level of shimmer can be a little tricky though, so here are some pointers: A creamy highlighter can be applied before or after foundation. A powder formula, on the other hand, is better applied as the last step in your makeup routine.
Liquid highlighters are better for mixing with foundations or other bases, they have a tendency to break up the foundation underneath it during application.
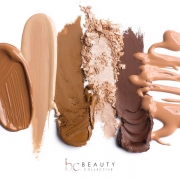
Another consideration is the shade, is it warm or cool? It’s imperative to find a good match if you want your highlighter to look natural, or simply go for a neutral shade that suits everyone such as the ELES Stick Illuminator.
4 – Pick the Right Highlighter Applicator
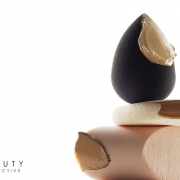
Choosing the right applicator depends on three things: the formula, the intensity you want, and where you are applying it. Generally creams and sticks are best applied with your fingers (the warmth of your hands helps to melt the product into the skin), while powders can be applied either with a brush or a sponge. For the lightest coverage, use a brush with thin, scattered bristles, like a fan brush. For more shimmer payoff, use a denser brush, like a tapered or stippling brush. And for the most pigment payoff, use a dampened beauty sponge. When applying the product in smaller areas (your lips, nose, or eyes), use a small, compact tool, like a pencil brush, for the most precise placement.
5 – Apply It to the High Points
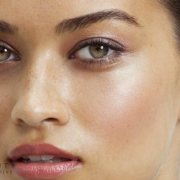
Highlighting is basically the opposite of contouring. The goal here is to bring the high points of your face – the tops of your cheekbones, along your brow bones, the top of your cupid’s bow, and down the bridge of your nose forward and make them really stand out. Word of advice: Avoid your T-zone (your forehead, middle of your cheeks, and chin) since it’s naturally oily and prone to excess shine (any extra shimmer can bring you into 80’s territory). For larger areas, like your cheekbones, use your brush to sweep your highlighter in a windshield-wiper motion over the skin. If you prefer to use a sponge, you can dampen it with a setting spray and use it to bounce or press highlighter onto the skin. For smaller spaces, like the inner corners of your eyes, your cupid’s bow, and the tip of your nose, use your small pointed brush to press the product exactly where you want it, and blend it out with your finger.

